
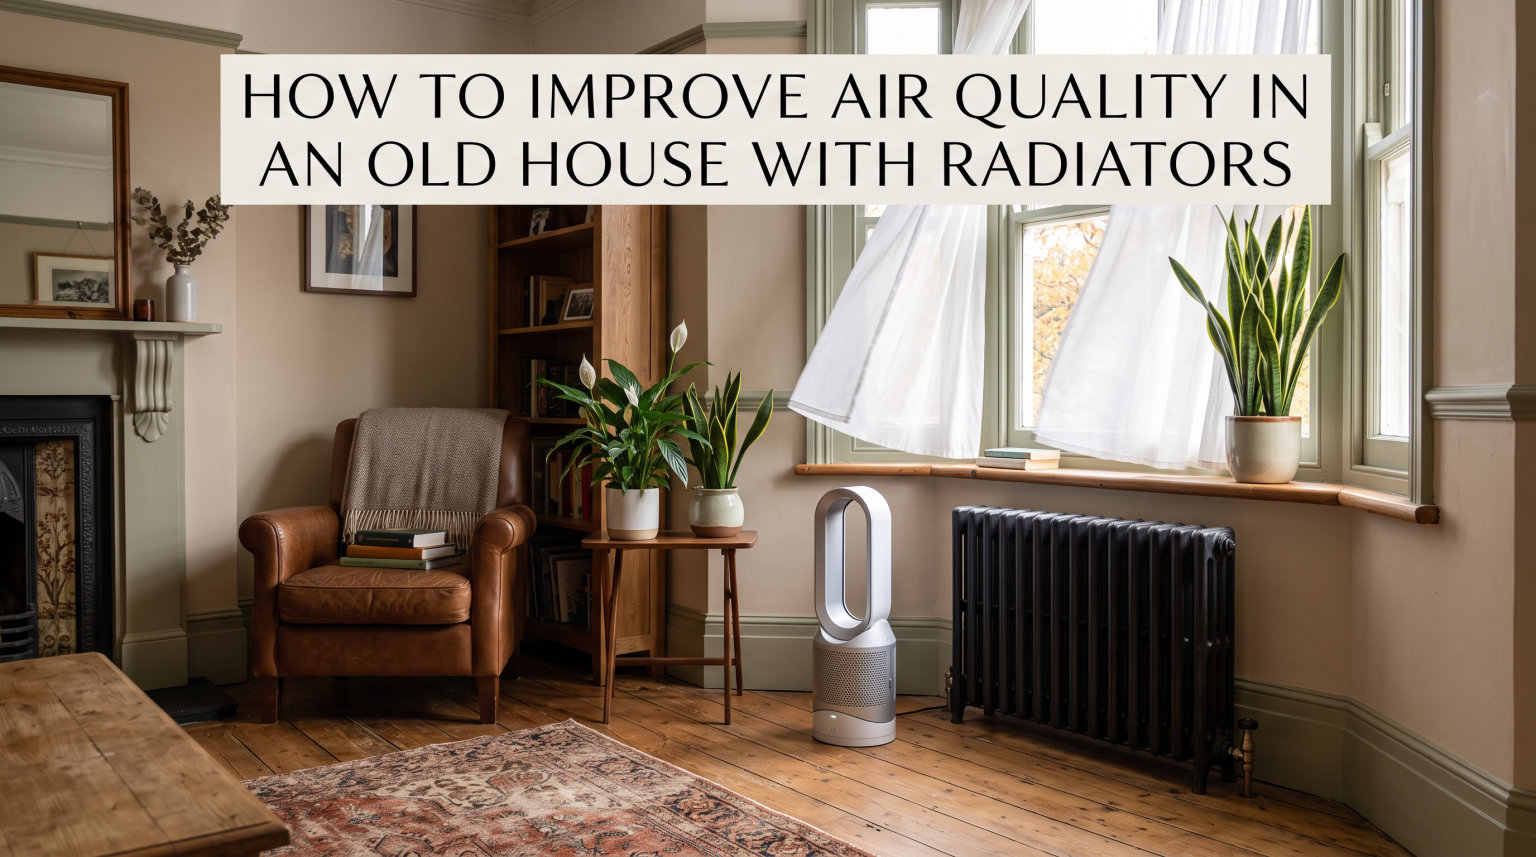
Living in a century home with radiator heating has a certain charm that forced-air furnaces simply cannot match. The gentle radiant warmth, the absence of blowing dust, and the quiet operation all contribute to a cozy atmosphere that many homeowners love. But that same charm comes with a real challenge: old houses with radiators do not filter or circulate air the way modern HVAC systems do, which means indoor air quality can suffer if you do not take deliberate steps to manage it.
If you have ever wondered why your home feels dusty, why your skin cracks in winter, or why the air just feels stale, you are not alone. Our team has spent years working with century home owners who face these exact problems. The good news is that you can dramatically improve air quality in an old house with radiators using a combination of source control, ventilation, standalone filtration, and humidity management.
This guide walks through everything you need to know to breathe easier in your radiator-heated home. We will cover the specific ways radiator systems affect air quality, how to diagnose problems, and a practical four-step framework you can start applying today. By the end, you will have a clear action plan tailored to the unique needs of homes heated by boilers and radiators.
Table of Contents
How Radiator Heating Affects Indoor Air Quality
Radiator heating systems, whether steam or hot water, work differently than forced-air furnaces. A boiler heats water (or produces steam) and sends it through pipes to radiators scattered throughout your home. Those radiators transfer heat to the surrounding air through a process called convection, warming the room without moving large volumes of air through ductwork.
This is where the air quality difference becomes obvious. A forced-air furnace pulls air from your living spaces, passes it through a filter, and pushes it back out through supply vents. That continuous cycling means the air gets filtered dozens of times per day. Radiators do none of that. They heat the air in place, which means no built-in filtration, no humidity control, and limited air circulation.
The result is that homes with radiator heating often experience three distinct air quality issues. First, low humidity is extremely common because radiators do not introduce any moisture into the air, unlike some forced-air systems. Forum discussions among century home owners consistently report humidity levels dropping to 30 percent or lower during winter months, well below the recommended 30 to 50 percent range.
Second, dust and allergens tend to accumulate because nothing actively removes them from the air. Every time you open a door, walk across a room, or shake out a blanket, particles enter the air and stay there until they settle on surfaces. Third, without mechanical air exchange, stale air and indoor pollutants like cooking fumes, cleaning chemicals, and volatile organic compounds can build up over time.
None of this means radiators are bad for your home. In fact, radiant heating is often considered more comfortable and energy-efficient than forced air. It simply means you need to take a proactive approach to air quality that furnace owners get partially for free through their ductwork and filters.
Signs Your Old House Has Air Quality Problems
Before you invest in solutions, it helps to know exactly what you are dealing with. Old houses give off plenty of warning signs when indoor air quality is suffering. Here are the most common indicators we see in radiator-heated homes:
Chronically dry air: If your humidity readings consistently fall below 30 percent in winter, your radiator system is contributing to excessively dry conditions. You may notice static electricity, cracking wood furniture, or dry skin and sinuses.
Persistent dust buildup: When dust collects on surfaces within days of cleaning, it means particles are not being removed from the air. Radiators themselves can also collect dust in their fins, which then convects upward when heat turns on.
Stale or stuffy air: If rooms feel heavy or airless, especially after the house has been closed up for a day or two, you likely need better ventilation. This is particularly noticeable in homes with good insulation but no mechanical air exchange.
Musty or damp odors: A sign of excess moisture, often in basements or near poorly sealed windows. Paradoxically, your living spaces might be too dry while your basement is too humid, creating a breeding ground for mold.
Allergy or asthma flare-ups indoors: If you or your family members experience worse allergy symptoms inside than outside, indoor allergens like dust mites, pet dander, or mold spores may be circulating without filtration.
Condensation on windows: While more common in homes that are too humid, single-pane windows in old houses can show condensation even at moderate humidity levels, indicating an imbalance worth addressing.
If you recognized three or more of these signs, your home would benefit from the four-step framework in the following sections. Even one or two signs warrant attention, especially during heating season when windows stay closed for months at a time.
Step 1: Control Pollution at the Source
The Environmental Protection Agency identifies source control as the most effective way to improve indoor air quality, and this principle applies equally to radiator-heated homes. Before you buy any equipment, focus on reducing the pollutants that enter your air in the first place.
Start with dust and allergen management. Old houses are notorious dust generators thanks to aging plaster, original woodwork, and gaps that let outdoor particles inside. Vacuum with a machine that has a HEPA filter at least weekly during heating season, and use microfiber cloths for dusting rather than feather dusters that simply redistribute particles. Washing bedding in hot water every week reduces dust mite populations significantly.
Next, address combustion byproducts. If your boiler shares a room with a water heater, dryer, or any gas appliance, make sure that space has adequate combustion air and proper venting. A carbon monoxide detector on every floor is non-negotiable in any home, but it is especially important in older houses where chimney and venting systems may have settled or degraded over decades.
Pay attention to chemical pollutants as well. Many conventional cleaning products, paints, and air fresheners release volatile organic compounds into your air. Since radiator homes lack the constant air exchange that furnace systems provide, these chemicals linger longer. Switch to low-VOC cleaners, store chemicals in sealed containers or outside living areas, and avoid synthetic fragrances that mask rather than eliminate odors.
Finally, consider what is underneath and around your home. Old basements with exposed dirt floors, crumbling rim joists, or water intrusion introduce moisture and soil gases into your living spaces. Sealing these areas with vapor barriers and expanding foam can dramatically reduce the pollutant load that rises through your floors and into your radiator-heated rooms.
Step 2: Improve Ventilation Without Ductwork
Without a furnace fan to move air around, ventilation becomes your responsibility. The goal is to exchange stale indoor air for fresher outdoor air without losing too much heat or letting in excessive moisture. Here are the most practical strategies for homes heated by radiators.
Natural ventilation is the simplest approach. Open windows on opposite sides of your home for 10 to 15 minutes each day, even in winter. This creates cross-ventilation that flushes out accumulated pollutants quickly. Doing this during the warmest part of the day minimizes heat loss, and your radiators will quickly reheat the space once windows are closed.
Kitchen and bathroom exhaust fans are essential in every home but especially important in radiator-heated ones. Run the bathroom fan for at least 20 minutes after showering to vent moisture outside rather than letting it circulate through the house. In the kitchen, use the range hood while cooking to remove grease particles, combustion gases, and cooking odors at the source. Make sure both fans vent to the exterior, not into an attic or wall cavity.
For a more robust solution, consider a heat recovery ventilator or HRV. These systems pull fresh outdoor air into your home while simultaneously exhausting stale indoor air, and they pass the two air streams through a heat exchanger that transfers up to 85 percent of the heat from outgoing air to incoming air. This means you get continuous fresh air without the energy penalty of opening windows. An HRV can be installed in homes without existing ductwork, using short runs of ducting through an exterior wall or attic.
Air sealing deserves a mention here as well. Many old homes are so drafty that they ventilate themselves unintentionally, but this uncontrolled infiltration brings in dust, humidity, and cold air exactly where you do not want it. Sealing gaps around windows, doors, and the rim joist with caulk, weatherstripping, and spray foam gives you control over when and where air enters your home. Once sealed, you can add intentional ventilation through the methods above.
One approach forum users in century home communities repeatedly recommend is combining targeted air sealing with a daily natural ventilation routine. This gives you the best of both worlds: fewer drafts and pollutants between ventilation sessions, plus a regular flush of fresh air on your schedule.
Step 3: Add Standalone Air Filtration
Since radiators do not filter air, you need to handle filtration separately. A standalone air purifier is the most effective tool for this job, and choosing the right one comes down to understanding a few key specifications.
Look for a purifier with a true HEPA filter, which is rated to capture 99.97 percent of particles as small as 0.3 microns. This covers dust, pollen, pet dander, dust mite debris, and most mold spores. HEPA filtration is the gold standard recommended by the EPA and is consistently cited by heating professionals and century home owners as the most impactful upgrade you can make for air quality in a radiator home.
When it comes to filter types, you have three main options. HEPA filters physically trap particles and are the most effective for allergens and dust. Activated carbon filters absorb gases and odors, making them useful if cooking smells or chemical sensitivities are a concern. UV-C light purifiers kill microorganisms but are less effective for particle removal on their own. Many quality purifiers combine HEPA and carbon in a single unit for comprehensive coverage.
Ionic purifiers and ozone generators deserve caution. While they can reduce some airborne particles, ozone is a lung irritant and the EPA specifically warns against using ozone-generating devices in occupied spaces. Stick with mechanical HEPA filtration for safety and effectiveness.
For room sizing, match the purifier’s Clean Air Delivery Rate to your room volume. A general rule is that the purifier’s CADR should equal at least two-thirds of the room’s square footage. For example, a 300-square-foot bedroom needs a purifier with a CADR of at least 200. In a radiator home, we recommend placing one purifier in each heavily used room rather than relying on a single unit to cover the whole house, since radiators do not circulate air between rooms.
Run your purifier continuously at a low speed rather than cycling it on and off. Forum insights from century home owners consistently show that 24/7 operation at low fan speeds keeps particle levels stable and is quiet enough for sleeping. Check and replace filters according to the manufacturer’s schedule, typically every 6 to 12 months for HEPA elements, since clogged filters dramatically reduce effectiveness.
Beyond portable purifiers, consider upgrading any existing filtration in your home. If you have a forced-air cooling system, mini-split, or whole-house fan, those units may have washable or replaceable filters that can be upgraded to higher MERV ratings for better particle capture when they run.
Step 4: Manage Humidity in Radiator Homes
Humidity management is the single most common concern we hear from homeowners with radiator heating. The complaint is almost always the same: the air is too dry in winter, causing cracked skin, static shocks, and damage to wood furniture and musical instruments. Let’s break down how to bring your humidity into the ideal range.
The target humidity range for comfort and health is between 30 and 50 percent. Below 30 percent, you will experience dry skin, irritated sinuses, and increased susceptibility to respiratory infections. Above 50 percent, you risk condensation on cold surfaces, which can lead to mold growth and dust mite proliferation. In a radiator home during peak heating season, levels often dip into the teens or twenties without intervention.
Buy a reliable hygrometer first. You cannot manage what you cannot measure, and humidity varies significantly between rooms and floors. Place hygrometers in your main living area, bedrooms, and basement so you can track conditions throughout your home.
For whole-house humidification, a central bypass or drum humidifier installed on your boiler system is the most seamless option. These units tap into the hot water supply and use the natural convection of your radiators to distribute moisture. They require professional installation but provide consistent, low-maintenance humidity control. Some models integrate with outdoor temperature sensors to automatically adjust output as conditions change.
If professional installation is not in your budget, room humidifiers are an effective alternative. Ultrasonic and evaporative models both work well, but evaporative humidifiers are generally quieter and do not produce the white dust that ultrasonic models can create if you have hard water. Place one in each bedroom and your main living space, and refill them daily during the driest months.
For a low-tech approach that many century home owners swear by, place shallow pans of water on or near radiators. The heat gently evaporates the water into the surrounding air, providing a small but consistent humidity boost. Add a few drops of essential oil if you want to freshen the air simultaneously, though avoid doing this if anyone in the household has scent sensitivities.
Do not neglect the opposite problem. If your basement reads above 60 percent humidity, run a dehumidifier to pull excess moisture out before it migrates upstairs. Many old homes have damp basements that continuously feed moisture into living spaces, undermining your humidification efforts upstairs. Controlling basement humidity is a critical but often overlooked piece of the puzzle.
Avoid the common mistake of over-humidifying in an attempt to fix dryness quickly. Pushing humidity above 55 percent in a home with single-pane windows or poor insulation will cause condensation on glass and cold walls, leading to mold and structural damage. Increase humidity gradually and monitor conditions across multiple rooms.
How to Bleed Radiators for Better Air and Heat
Trapped air inside radiators is a common problem that reduces heating efficiency and can contribute to uneven temperatures throughout your home. When air accumulates in the top of a radiator, it blocks hot water from filling the entire unit, leaving the top cool while the bottom stays hot. Bleeding your radiators releases this trapped air and restores full heat output.
Here is a step-by-step process you can follow safely. Start by turning on your heating system so the radiators warm up, which helps build pressure inside the system and pushes air toward the bleed valve. Wait about 15 minutes for the system to reach operating temperature.
Step 1: Turn off the boiler and let the system cool slightly so you do not risk burns from hot water or steam. Safety comes first with any heating system maintenance.
Step 2: Locate the bleed valve, which is typically a small square protrusion at the top of one side of the radiator. You will need a radiator bleed key, which is an inexpensive tool available at any hardware store. Some modern valves can be turned with a flathead screwdriver.
Step 3: Hold a small container or towel under the valve to catch any water that drips out. Slowly turn the key counterclockwise about a quarter turn. You should hear a hissing sound as trapped air escapes.
Step 4: Wait until the hissing stops and water begins to trickle from the valve. This means all the air has been released from that radiator. Close the valve by turning the key clockwise, being careful not to overtighten.
Step 5: Repeat this process for every radiator in your home, starting with the one on the lowest floor and working upward. This sequence ensures air is pushed out of the entire system efficiently.
Step 6: Check your boiler’s pressure gauge after bleeding all radiators. Removing air from the system can lower the pressure, and you may need to add water through the boiler’s fill valve to bring it back to the recommended range, typically between 12 and 15 psi for most residential systems.
If you are uncomfortable performing this task, or if your system is a steam radiator rather than hot water, it is worth calling a professional. Steam systems operate differently and bleeding them improperly can lead to burns or system damage. Annual professional maintenance is a smart investment that keeps your boiler running efficiently and your air as clean as possible.
Seasonal Maintenance Schedule for Radiator Homes
Air quality is not a one-time fix but a year-round practice. Here is a seasonal framework to keep your radiator home breathing well in every month of 2026.
Fall (preparation): Bleed all radiators before heating season begins. Replace HEPA purifier filters so they are fresh for the months ahead. Test hygrometers and humidifiers. Seal any gaps around windows and doors with weatherstripping before cold weather sets in. Schedule a boiler inspection if you did not have one in the past 12 months.
Winter (active management): Run humidifiers daily and monitor humidity levels in each room. Keep air purifiers running 24 hours a day at low speed. Ventilate naturally for 10 to 15 minutes daily. Vacuum with HEPA filtration weekly to manage dust that accumulates when windows stay closed. Check basement humidity monthly and run a dehumidifier if readings exceed 60 percent.
Spring (deep cleaning): Open windows regularly as weather warms to flush out winter accumulation. Deep clean radiator fins and the spaces behind radiators where dust collects. Wash or replace all filters in purifiers and HVAC components. Inspect for mold in basements and around windows where condensation may have occurred during winter.
Summer (prevention): Address any air sealing or insulation projects while the weather cooperates. Service your dehumidifier. If you are planning upgrades like an HRV installation or thermostatic radiator valves, summer is the ideal time to schedule the work.
Common Mistakes to Avoid
Even with the best intentions, a few missteps can undermine your air quality efforts. Avoid these pitfalls that we see repeatedly in radiator-heated homes:
Over-humidifying: Cranking humidifiers to maximum output can push humidity above safe levels, causing condensation, mold, and damage to paint and plaster. Always measure before you adjust.
Blocking radiators with furniture or curtains: Large sofas, heavy drapes, and decorative covers impede airflow around radiators, reducing heat distribution and creating pockets where dust accumulates. Keep at least six inches of clearance around every unit.
Neglecting radiator cleaning: The fins and spaces behind radiators trap enormous amounts of dust that convects into your air every time heat cycles. Vacuum these areas monthly during heating season.
Relying on a single air purifier for the whole house: Since radiators do not circulate air between rooms, one purifier cannot service an entire floor. Place units where people spend the most time.
Ignoring the basement: Basement moisture and air quality directly affect the floors above. A damp basement feeds humidity and mold spores into your living spaces regardless of what you do upstairs.
Skipping annual boiler maintenance: A poorly maintained boiler burns less efficiently and can produce more combustion byproducts. Annual professional service keeps your system safe and clean.
FAQs
How to improve air quality in an old house with radiators?
Improve air quality in a radiator-heated home with a four-step approach: control pollution sources by reducing dust and chemicals, improve ventilation through daily window airing and exhaust fans, add standalone HEPA air purifiers in each main room, and manage humidity to keep levels between 30 and 50 percent. Radiators do not filter air like forced-air furnaces, so these steps must be handled separately.
How to humidify a house with radiators?
Use room humidifiers in bedrooms and living spaces, place shallow water pans on or near radiators for passive evaporation, or install a central bypass humidifier connected to your boiler system. Monitor humidity with hygrometers and aim for 30 to 50 percent. Avoid exceeding 55 percent to prevent condensation and mold on cold window surfaces.
Do radiators dry out the air more than forced air heating?
Radiators and forced-air furnaces both dry out indoor air during winter, but the effect is often more noticeable with radiators because they do not introduce any moisture. Forced-air systems sometimes add trace humidity through combustion or attached humidifiers. Radiator homes frequently drop below 30 percent humidity without intervention.
Are houses with radiators safe?
Yes, houses with radiators are safe when properly maintained. Radiant heating eliminates the fire risks associated with forced-air furnaces and does not blow dust and allergens through ductwork. The main safety considerations are annual boiler inspections, functioning carbon monoxide detectors, and proper ventilation for any combustion appliances sharing the boiler room.
Do I need an air purifier if I have radiators?
Yes, an air purifier is strongly recommended for radiator-heated homes because radiators do not include built-in air filtration like forced-air furnaces. A HEPA purifier placed in each main living area captures 99.97 percent of airborne particles including dust, pollen, pet dander, and mold spores that would otherwise accumulate.
How to make old radiators more efficient?
Bleed radiators annually to remove trapped air, install thermostatic radiator valves for zone control, add reflective panels behind wall-mounted radiators to direct heat into the room, keep furniture and curtains from blocking airflow, and consider an outdoor reset control on your boiler to match water temperature to outdoor conditions. Annual professional boiler maintenance also improves efficiency.
Conclusion
Improving air quality in an old house with radiators comes down to four deliberate actions: control pollution sources, ventilate intentionally, filter with standalone HEPA purifiers, and manage humidity between 30 and 50 percent. Radiators will not handle these tasks for you the way a forced-air furnace partially does, but with consistent effort your century home can have air that is cleaner and more comfortable than any modern house. Start with a hygrometer and a single air purifier this week, then build out your system from there.