
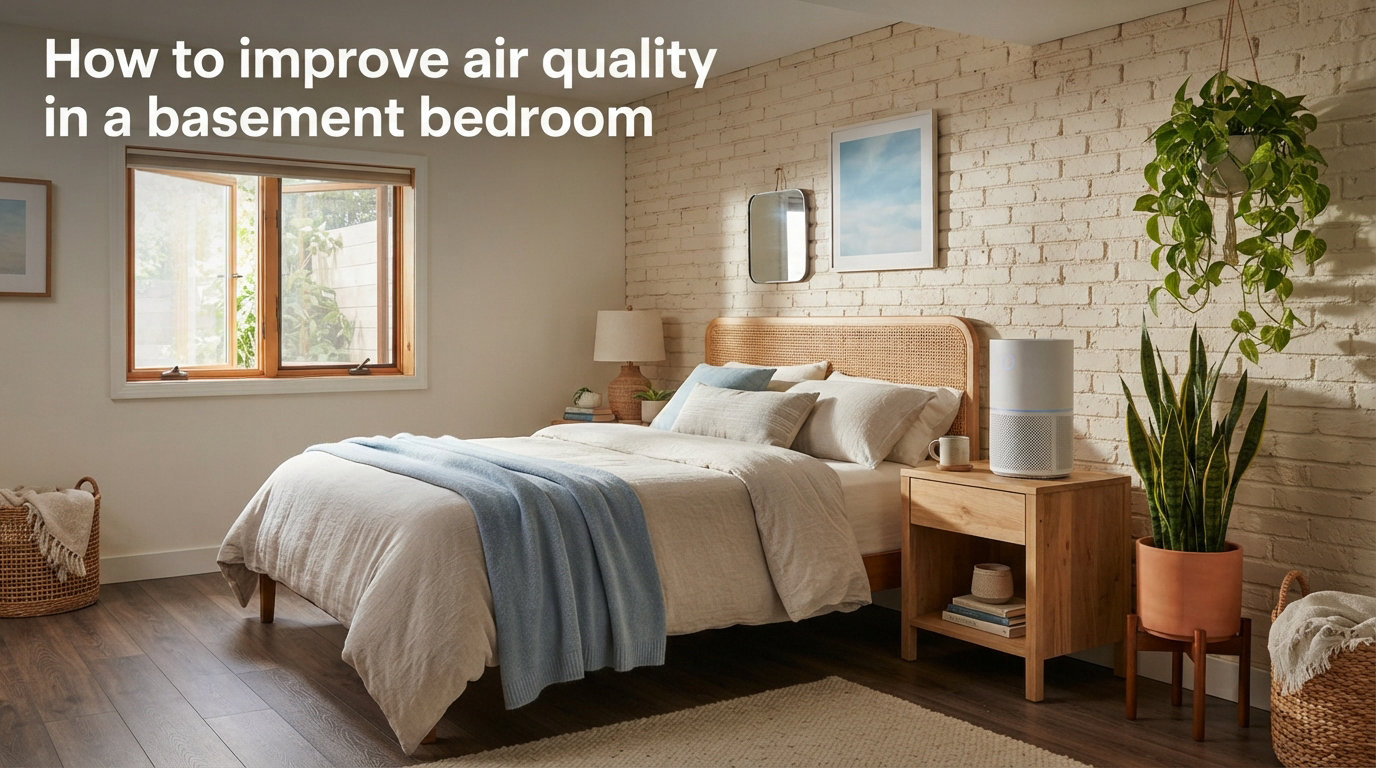
Sleeping in a basement bedroom should feel cozy, not stuffy. Yet that dry throat, those itchy eyes, and that lingering musty smell are all warning signs that the air below ground level needs serious attention. I have spent years researching and testing indoor air solutions, and the good news is that almost every basement air problem is fixable once you know what you are dealing with.
Learning how to improve air quality in a basement bedroom comes down to four core actions: controlling moisture, increasing ventilation, filtering the air, and preventing mold. Because basements sit below grade, they naturally trap humidity, pollutants, and gases that above-ground rooms vent away easily. The EPA recommends keeping indoor humidity between 30 and 50 percent, a target that most unmanaged basements miss badly.
This guide walks you through every step, from testing your air to choosing between a dehumidifier and an air exchanger. I have also included sections that other guides skip entirely: overnight air quality for better sleep, carbon monoxide safety, budget fixes under $200, and a seasonal maintenance checklist. By the end, you will have a clear, prioritized plan to make your basement bedroom breathe easy.
Table of Contents
What Causes Poor Air Quality in Basement Bedrooms
Basement bedrooms collect pollutants the way a basement collects clutter: out of sight and slowly over time. The concrete foundation, limited windows, and cooler temperatures all work together to trap contaminants that would otherwise disperse upstairs. Understanding the specific sources is the first step toward fixing them.
Mold Spores and Mildew
Mold is the number one culprit behind that signature musty basement odor. Mold spores range from 2 to 10 microns in size, small enough to inhale deeply into your lungs while you sleep. Mold thrives anywhere humidity climbs above 60 percent, feeding on drywall paper, wood framing, dust, and even the organic matter in carpet fibers.
Radon Gas
Radon is a naturally occurring radioactive gas that seeps up through foundation cracks and floor joints. You cannot see, smell, or taste it, but the EPA identifies radon as the second leading cause of lung cancer after smoking. Any below-grade bedroom should be tested, because prolonged overnight exposure is exactly the scenario radon mitigation is designed to address.
Volatile Organic Compounds (VOCs)
VOCs are chemicals released by paints, adhesives, pressed-wood furniture, cleaning supplies, and new carpeting. In a well-ventilated upstairs room, these compounds dissipate. In a sealed basement bedroom, they accumulate night after night. Common VOCs like formaldehyde can irritate eyes, throat, and skin, and some are linked to longer-term health effects with chronic exposure.
Dust Mites, Pet Dander, and Pests
Cooler, damp basement air creates ideal conditions for dust mites. Pet dander settles downward through stairwells, and basement carpeting holds onto allergens far longer than hard flooring. If anyone in your household wakes up congested in a basement bedroom, airborne allergens are a likely trigger.
Carbon Monoxide and Combustion Gases
If your basement houses a furnace, water heater, or gas dryer, combustion gases are a real concern. A cracked heat exchanger or blocked flue can push carbon monoxide into the air you breathe while sleeping. This is one of the most dangerous basement air issues, yet almost no guide mentions it. A working CO detector is non-negotiable for any basement bedroom.
How to Test Your Basement Air Quality
You cannot fix what you have not measured. Testing tells you exactly which problems to tackle first, so you avoid spending money on the wrong solution. Here is the testing sequence I recommend, ordered from most urgent to least.
Step 1: Test for radon. Pick up a short-term radon test kit, place it in the lowest lived-in level of your home for two to seven days, then mail it to the lab. If your result reads above 4 picocuries per liter, the EPA recommends installing a radon mitigation system. Radon testing costs around $15 to $30 for a kit, making it the highest-value test you can run.
Step 2: Buy a hygrometer. A simple digital hygrometer measures relative humidity and costs under $15. Place it at desk height in the bedroom and check it morning and evening for a week. Readings consistently above 50 percent confirm a moisture problem; readings below 30 percent mean the air is too dry, which irritates airways.
Step 3: Inspect for visible mold. Check behind furniture, under the bed, along baseboards, and around window frames for dark spots or fuzzy growth. A musty smell without visible mold often means growth is hiding behind drywall or under carpet. In that case, a professional inspection is worth the cost.
Step 4: Install a carbon monoxide detector. Place a battery-backed CO detector in the basement bedroom and another near any combustion appliance. Test the batteries monthly. This single $20 device can save a life.
Step 5: Consider an air quality monitor. A mid-range indoor air quality monitor tracks VOCs, PM2.5 particulates, CO2, and humidity in real time. Watching the numbers rise and fall as you make changes is genuinely motivating, and it confirms whether your fixes are working.
How to Improve Air Quality in a Basement Bedroom: Step by Step
Once you know what is in your air, these four steps address nearly every basement pollutant. I have ordered them by impact, so even if you only complete the first two, you will notice a dramatic difference.
Step 1: Control Moisture and Humidity
Moisture is the root cause behind mold, dust mites, and that heavy damp feeling. Get humidity under control first, and half the battle is won. The EPA target is 30 to 50 percent relative humidity, and you should aim for the middle of that range in a bedroom.
Start with a dedicated basement dehumidifier sized to your square footage. A unit rated for 50 pints per day handles most standard basement bedrooms. Empty the reservoir daily, or better yet, run a drain hose to a floor drain or sump pump so the unit runs continuously without intervention.
Next, find and seal the moisture entry points. Inspect foundation walls and floors for cracks, then fill them with hydraulic cement or polyurethane caulk. Check that gutters and downspouts direct water at least six feet away from the foundation, because exterior water is the most common hidden source of basement humidity.
If water actively enters during rain, a sump pump with a sealed lid is your best defense. The sealed lid matters: open sump pits release damp air right back into the room. Finally, avoid hanging wet laundry or storing firewood in the basement, since both release surprising amounts of moisture.
Step 2: Improve Ventilation
Ventilation replaces stale, pollutant-heavy basement air with fresher outdoor or upstairs air. Without it, every other fix only manages a closed, contaminated box. There are three tiers of ventilation, ranging from simple to whole-house systems.
Quick fix: exhaust fans and cross-ventilation. If your basement bedroom has a window, open it slightly and place a box fan facing outward to push stale air out. Crack a window or door on the opposite side of the basement to draw fresh air in. Even an hour of this exchange each evening noticeably refreshes the room.
Mid-tier: bath-style exhaust fan. Install a quiet exhaust fan in the bedroom or adjacent bathroom, vented directly outside rather than into the joist cavity. Wire it to a timer so it runs for 20 to 30 minutes every few hours, or continuously on low overnight. This is one of the most cost-effective mechanical upgrades available.
Best long-term solution: ERV or HRV system. An Energy Recovery Ventilator or Heat Recovery Ventilator brings in filtered fresh air while exhausting stale air, capturing heat and moisture in the process. These systems are the gold standard for basement bedrooms, especially in homes without windows. They cost more up front and require professional installation, but they solve ventilation at the source.
How to Improve Air Quality in a Basement Bedroom With No Windows
A windowless basement bedroom is the hardest case, because you cannot rely on natural cross-ventilation. The solution is mechanical ventilation combined with continuous filtration. Install a through-wall exhaust fan vented outside, add an ERV if budget allows, and run a HEPA air purifier 24 hours a day. Keep the bedroom door undercut or install a transfer grille so air can circulate between the basement and the rest of the home.
Step 3: Add Air Purification
An air purifier does not replace ventilation, but it captures the particles ventilation misses. For a basement bedroom, you want a purifier with two filter stages: a true HEPA filter and an activated carbon layer.
The HEPA filter captures 99.97 percent of particles down to 0.3 microns, which covers mold spores, dust mite debris, pet dander, and fine dust. The activated carbon layer adsorbs VOCs and odors, which is essential in basements where musty smells and chemical off-gassing accumulate. A HEPA-only unit will not touch the smell, so always check that carbon is included.
Match the purifier to your room using the Clean Air Delivery Rate, or CADR. A general rule: choose a unit whose CADR rating is at least two-thirds of your room’s square footage. Place the purifier near the bed at the breathing zone, and run it on low overnight for quiet, continuous cleaning. Remember to replace filters on schedule, because a clogged filter stops working entirely.
Step 4: Prevent and Remove Mold
With humidity under control, existing mold still needs to be removed and future growth prevented. For small patches under about 10 square feet, scrub the area with soap and water, then disinfect with a solution of one cup of bleach per gallon of water. Dry the surface completely afterward, because mold returns in hours if moisture lingers.
For larger infestations, call a professional mold remediation service. Disturbing extensive growth can release millions of spores into the air you breathe at night. During any basement renovation, choose mold-resistant drywall, avoid wall-to-wall carpeting, and opt for vinyl or tile flooring that does not hold moisture.
Prevention is cheaper than removal. Keep humidity below 50 percent, keep air circulating behind furniture rather than trapping dampness against exterior walls, and address any leak within 24 to 48 hours. Mold cannot grow without sustained moisture, so if you win the humidity battle, you have essentially solved mold.
Bedroom-Specific Air Quality Tips for Better Sleep
Most basement air guides treat the space like a storage room. A bedroom has very different needs, because you spend eight hours a day breathing deeply in one spot. Here is how to optimize a basement bedroom specifically for sleep.
Position your air purifier within three to four feet of the bed, ideally at the same height as your pillow. This creates a clean air zone right where you breathe. Avoid pointing the output directly at your face, which can dry out sinuses overnight. Instead, aim it toward the ceiling or a nearby wall so the clean air circulates gently.
Run the purifier and any exhaust fan all night on low settings. The background noise can actually improve sleep by masking household sounds, and continuous filtration keeps particulate counts lowest during the hours you need clean air most. If the purifier keeps you awake, choose a model rated below 30 decibels on its lowest speed.
Install a carbon monoxide detector at pillow height near the sleeping area. Carbon monoxide mixes with air and can accumulate at any level, so height matters less than proximity to where you breathe. Test the alarm monthly and replace the entire unit every five to seven years. If your basement has a gas furnace or water heater, this is the single most important safety step you can take.
Keep the door open or install a transfer grille if possible. A fully closed basement bedroom with no return air duct becomes a dead-air pocket where CO2 from your own breathing builds up overnight. Waking up with a headache or groggy feeling can be a sign of elevated carbon dioxide rather than poor sleep quality.
Avoid scented candles, plug-in fragrances, and essential oil diffusers in a basement bedroom. These add VOCs to already-stagnant air and can irritate airways. If you want a fresh scent, the best approach is to actually remove the odor source rather than mask it.
Cost-Effective DIY Solutions Under $200
You do not need to spend thousands to make a noticeable improvement. These budget fixes, pulled from real homeowner experiences on home improvement forums, deliver real results for under $200 each.
Digital hygrometer ($15-$20): The foundation of every fix. You cannot manage humidity you are not measuring, and this single inexpensive tool tells you instantly whether you have a moisture problem.
Box fan window exhaust ($40-$60): The classic Reddit-recommended trick. Place a box fan in a window blowing outward, seal the gaps with cardboard, and run it for an hour daily. This exchanges a surprising volume of stale basement air for fresh outdoor air.
Weatherstripping and door sweeps ($25-$50): Seal the gaps around basement doors and windows to keep humid outside air from sneaking in. This also improves the efficiency of any dehumidifier you add later.
Dimpled foundation membrane and caulk ($30-$60): Seal visible cracks in the foundation with hydraulic cement or polyurethane caulk. This is a weekend project that stops both moisture and radon entry points in their tracks.
Carbon monoxide detector ($20-$30): The cheapest insurance you will ever buy for a basement bedroom. Do not skip this one.
Strategic houseplant placement: Houseplants do help filter trace VOCs, but their effect is modest and easily overstated. Think of plants as a small bonus, not a primary solution. A few peace lilies or spider plants add zero-humidity aesthetic value without ever causing harm.
Seasonal Maintenance Checklist
Basement air quality shifts with the seasons, and a routine that works in midsummer may fail by midwinter. Use this seasonal checklist to stay ahead of the changes.
Summer (high humidity focus): Run the dehumidifier continuously and check the reservoir or drain daily. Keep windows closed on humid days, because opening them pulls moisture in rather than venting it out. Inspect for condensation on cold foundation walls and wipe it dry immediately.
Fall (preparation focus): Clean gutters and extend downspouts away from the foundation before the rainy season. Replace air purifier and HVAC filters. Test your CO detector and radon monitor with fresh batteries before the heating season begins.
Winter (dry, stagnant air focus): Heating systems dry basement air out, sometimes below the healthy 30 percent floor. If your hygrometer drops too low, a small humidifier set to 40 percent can restore comfortable breathing. Keep ventilation running, because closed windows and sealed homes let pollutants build up.
Spring (allergen focus): Pollen enters through open windows and any HVAC intake located in the basement. Upgrade to a higher-MERV furnace filter during pollen season and run the purifier more often if allergy symptoms flare.
When to Call a Professional
DIY fixes handle most basement air issues, but some problems need expert hands and equipment. Knowing when to call saves money in the long run by avoiding trial and error on serious hazards.
Radon above 4 pCi/L: A certified radon mitigation contractor installs a sub-slab depressurization system that vents gas safely above the roofline. This is not a DIY project, and the results protect anyone sleeping in the basement for years to come.
Mold covering more than 10 square feet: Large infestations, mold inside HVAC ducts, or mold that returns after cleaning all warrant professional remediation. Pros contain the area, use commercial-grade air scrubbers, and dispose of contaminated materials safely.
Active water intrusion: If water enters through walls or floors during rain despite your crack-sealing efforts, you need a waterproofing contractor. Solutions may include interior French drains, a sump pump system, or exterior foundation work.
ERV or HRV installation: Whole-house ventilation systems require ductwork, electrical wiring, and balanced airflow calibration. An HVAC contractor makes sure the system actually exchanges air efficiently rather than just adding noise.
Persistent health symptoms: If you or a family member continues experiencing congestion, headaches, or breathing issues after implementing these steps, consult an indoor air quality professional and a doctor. Chronic exposure to mold or VOCs can cause sensitivity that lingers even after the source is gone.
FAQs
How to fix poor air quality in bedroom?
Fix poor bedroom air quality by controlling humidity to 30-50 percent with a dehumidifier, improving ventilation with an exhaust fan or open windows, running a HEPA air purifier with activated carbon near the bed, removing visible mold, and installing a carbon monoxide detector. Testing with a hygrometer and radon kit tells you exactly which fixes to prioritize first.
How to improve air quality in a basement with no windows?
To improve air quality in a windowless basement, install a through-wall exhaust fan vented outside, add an ERV or HRV system for continuous fresh air exchange, run a HEPA air purifier 24 hours a day, keep the door open or add a transfer grille for cross-circulation, and use a dehumidifier to hold humidity below 50 percent.
How do you purify basement air?
Purify basement air by running an air purifier with a true HEPA filter to capture mold spores, dust, and allergens plus an activated carbon layer to adsorb VOCs and musty odors. Control the humidity source first with a dehumidifier, because no filter can keep up with an ongoing moisture problem. Replace filters on schedule so the unit keeps working effectively.
How to ventilate a basement bedroom?
Ventilate a basement bedroom by opening a window with a box fan blowing outward to exhaust stale air, installing a bath-style exhaust fan vented outside on a timer, or upgrading to an ERV or HRV system for continuous balanced fresh air. Keep the bedroom door undercut or add a transfer grille so air can circulate rather than stagnating in a closed space.
Conclusion
Knowing how to improve air quality in a basement bedroom comes down to a simple sequence: test what is in the air, control moisture first, add ventilation second, and filter what remains. Tackle radon and carbon monoxide safety immediately, because those are the hazards that DIY cleaning cannot fix. From there, consistent humidity management and overnight air purification transform a stuffy basement into a bedroom you actually look forward to sleeping in.
Start with the $15 hygrometer and a radon test kit this week. Those two small steps will tell you exactly where to focus your time and money. A clear basement bedroom is not just more comfortable, it is measurably healthier, and every fix you make compounds on the last.