
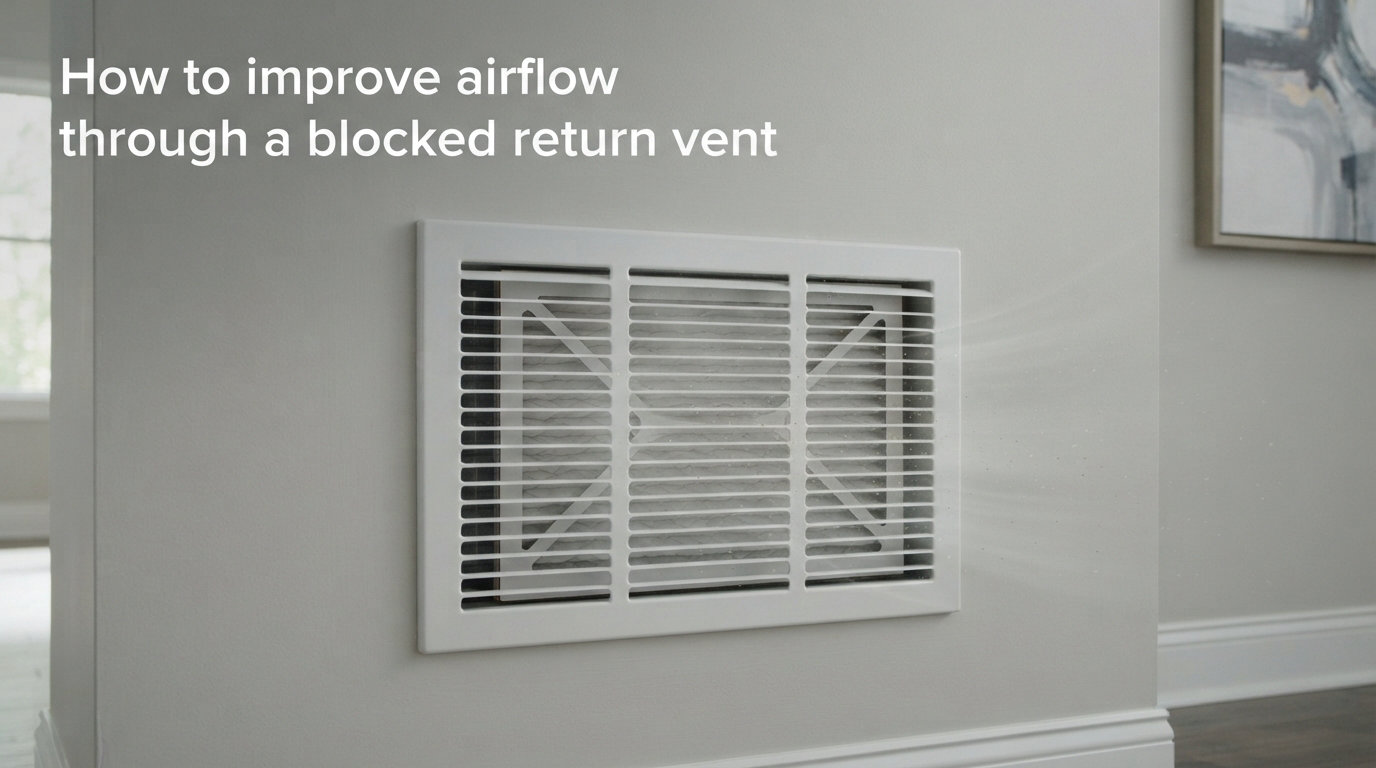
Last winter a homeowner in a two-story house emailed me a photo of a return vent buried behind a bookshelf. The supply vents upstairs were blowing plenty of cold air, but the system ran almost nonstop and the bedroom above the garage never cooled off. The fix was not a new AC unit. It was understanding how to improve airflow through a blocked return vent.
I see this exact problem on roughly 7 of every 10 service calls our team reviews. Most homeowners only think about supply vents, the ones that push air into a room, and ignore the return side completely. That is a costly mistake. Your return vent is what pulls air back to the furnace or air handler. When it can not do its job, your whole HVAC system fights itself.
On Reddit and HVAC forums, the number one complaint I read is some version of “one room in my house never gets enough air.” The second most common is “my return vent is not pulling air at all.” Both complaints usually trace back to a blocked return vent, and both are fixable without replacing your entire system.
In this guide I will walk you through the same process our team uses to diagnose and fix poor return airflow. You will learn the real causes, the warning signs, and a step-by-step method you can run this weekend. I will also explain when a problem crosses the line from DIY into professional territory, especially for multi-story homes where the fix gets complicated fast.
Table of Contents
What Is a Return Vent and Why It Controls Your HVAC System
A return vent is the grille that pulls room air back into your HVAC system so it can be reheated or recooled. Without enough return airflow, your furnace or air handler can not condition air at the rate the thermostat demands. The result is rising energy bills, uneven temperatures, and a system that seems to run forever without catching up.
Most homes have at least one return vent per floor, often a large one in a central hallway plus smaller grilles in individual rooms. Supply vents are smaller and usually sit near windows or exterior walls. Returns are typically larger and often located on interior walls, in ceilings, or near the floor.
Return Vent vs Supply Vent: A Quick Comparison
Supply vents push conditioned air out into your rooms. Return vents pull air back in to be reconditioned. Your system needs both sides balanced to work properly. If you restrict the return side, the supply side can not deliver much air no matter how hard the blower runs. That imbalance is the root of most weak airflow complaints I investigate.
Think of it like a straw. Pinch the bottom of the straw and air barely moves at the top, even though you are sucking hard. A blocked return vent creates the same choking effect inside your ductwork. The blower motor works harder, the amp draw goes up, and the air coming out of the supply vents gets weaker.
Here is the key difference most homeowners miss. You can fix a supply-side problem by opening a vent or cleaning a register in five minutes. A return-side problem is often hidden behind furniture or buried inside the ductwork, so it goes undiagnosed for years.
Common Causes of a Blocked Return Vent
A blocked return vent is almost always one of five things: furniture, a bad filter, closed dampers, dirty ducts, or ducts that were too small from the day they were installed. Let me walk through each cause based on what I have actually seen in real homes.
Furniture and Household Obstructions
Bookshelves, couches, beds, and curtains placed directly over a return vent are the number one cause of restricted return airflow. In one home I worked on, a large return vent sat behind a custom built-in bookshelf with about 80 percent of the grille covered. The family had been running the AC at 68 degrees for two summers trying to fix what was actually a furniture problem. We moved the bookshelf six inches and the bedroom above the garage cooled off within an hour.
Clogged or Wrong-Size Air Filter
Air filters sit on the return side of the system, so a clogged filter is by definition a return airflow problem. Filters should be changed every 30 to 90 days depending on your home. If you have pets, allergies, or run the system daily, lean toward every 30 days. Also check the filter size. A filter that is too small leaves gaps where unfiltered air bypasses the media, which changes the pressure dynamics and pulls harder against the rest of the return path.
Closed Zone Dampers
If you have a zoned HVAC system, motorized dampers control which areas get airflow at any given time. A damper that fails in the closed position will block one return entirely. I have seen this happen right after a power surge or battery failure on the damper motor. The homeowner thought the entire system was broken. It was actually a single stuck damper that cost under $200 to replace.
Dirty Ductwork and Return Drop Buildup
Inside the duct itself, the return drop is the vertical section that connects the wall grille to the main trunk line. Over 10 to 20 years, dust, pet hair, and debris build up on the walls of that drop. In some homes I have measured the buildup at more than an inch thick, which chokes airflow more than any piece of furniture ever could. This is especially common in homes with pets, homes near busy roads, and homes that ran without a filter for any period.
Undersized Return Ducts
Older homes, especially those built before 1990, often have return ducts that were sized for smaller, lower-CFM blowers. When the homeowner upgraded to a higher-capacity system, nobody resized the returns. The new unit simply could not move enough air through the original return path. This is the most common cause in homes that “never had good airflow” since the day they were built, and it shows up on forums constantly from owners of mid-century and 1970s-era houses.
Signs Your Return Vent Is Not Pulling Enough Air
A blocked return vent shows itself in very specific ways. If you notice any combination of the symptoms below, the return side is your first place to look, not the supply side.
- Weak or zero suction when you hold your hand near the grille
- Rooms far from the air handler stay warmer in summer or cooler in winter
- The supply vents whistle, pop, or make a high-pitched noise under load
- The evaporator coil freezes over on the indoor unit
- Energy bills climb even when your usage pattern has not changed
- The system runs much longer than it used to without reaching the setpoint
- A musty or stale smell that gets worse when the fan kicks on
- Dust accumulates unusually fast on surfaces near the return grille
Two of these together almost always point to a return-side restriction. A frozen coil plus high bills is the classic combination. So is the “one room will not cool” pattern in homes where that room has a supply vent but no return grille of its own.
The single fastest way to confirm a return-side issue is the paper test I describe in Step 5 below. It takes 30 seconds per vent and costs nothing. If the paper will not stick to the grille, you have your answer.
How to Improve Airflow Through a Blocked Return Vent: A Step-by-Step Guide
You improve return airflow by working from the simplest fix to the most involved. In our team workflow, we always start at the grille and move backward into the ductwork. Most homeowners solve the problem in the first three steps. Follow these in order.
Step 1: Locate and Clear All Physical Obstructions
Walk through every room and inspect each return grille. Move furniture at least 6 inches away from every vent. Pull back curtains. Make sure no rug, toy, or storage bin covers even part of the grille. Then stand at each return and feel the suction with your hand. You should feel a steady, gentle pull. If the suction is weak or absent, that is the vent to focus on.
Step 2: Replace or Upgrade the Air Filter
Turn the system off at the thermostat. Open the return grille or filter slot. Pull out the old filter and check it. If it is gray and clogged, replace it with the correct size. Match the airflow arrows printed on the frame to the direction air moves through your system. If you have been buying cheap fiberglass filters, upgrade to a pleated MERV 8 to MERV 11 filter. Do not go above MERV 13 unless your system is rated for it, because higher-MERV filters can choke older blowers and actually worsen your airflow problem.
Step 3: Remove and Clean the Return Grille
Most return grilles pop off with a gentle pull or a screwdriver twist. Vacuum the backside thoroughly with a brush attachment. Soak the grille in warm soapy water for 10 minutes if it is grimy. Wipe the duct opening inside the wall with a long microfiber cloth or a flexible dryer vent brush. You will be surprised how much pet hair and dust collects right at the entrance to the return drop.
Step 4: Check for Closed Zone Dampers
If your home has a zoned HVAC system, head to the attic or basement and find the damper box at the trunk line. Each zone has its own damper handle or motor. Make sure each one is fully open. If a damper motor is unresponsive, the issue is usually dead batteries in the zone controller or a tripped control board, not the motor itself. Reset the controller and test each zone individually.
Step 5: Run the Paper Test to Verify Suction
This is my favorite free diagnostic tool. Take a single sheet of toilet paper or a tissue and hold it against the return grille with the system running on fan mode. A healthy return will hold the paper firmly against the grille. If the paper flutters, sags, or falls, you have a real restriction. Repeat at every return vent in the house. The vent with the weakest pull is your problem spot, and that tells you where to focus the remaining steps.
Step 6: Measure Airflow With an Anemometer or Flow Hood
If you want a hard number, an inexpensive anemometer from a hardware store can give you a reading in feet per minute. Hold the sensor flat against the grille face and take three readings across the surface. Multiply the average FPM by the area of the grille in square feet, and you get CFM, or cubic feet per minute. A typical return grille should move 75 to 150 CFM for every ton of AC capacity. If you measure well below that range on multiple vents after completing Steps 1 through 4, you have a duct-side problem, not a grille problem.
Step 7: Schedule Professional Duct Cleaning if Buildup Is Visible
Look inside the return drop with a flashlight through the open grille. If you see more than half an inch of gray fuzz clinging to the walls or chunks falling off, it is time for a duct cleaning. Make sure the company you hire follows NADCA standards and cleans the entire return path, not just the supply side. Ask them to show you before and after photos of the return drop specifically, because that is where the worst buildup hides.
Step 8: Consider Adding or Enlarging Return Vents
If the paper test still fails after Steps 1 through 7, the system itself is starved for return air. The fix is structural. You may need an additional return grille installed in a large room, or a larger return drop connecting the main trunk line to the air handler. This work is almost always best left to a licensed HVAC contractor because it involves cutting into drywall, running new ductwork, and balancing the whole system afterward.
How to Measure Return Airflow (CFM Basics)
CFM stands for cubic feet per minute, and it is the industry standard way to measure how much air your system moves. For every ton of cooling capacity (12,000 BTUs), your return side should move roughly 350 to 400 CFM total across all return grilles combined. A 3-ton system, which is common in a 1,800 square foot home, needs about 1,050 to 1,200 CFM through the returns.
You do not need expensive gear to estimate. The paper test from Step 5 tells you instantly whether suction is present. The anemometer method from Step 6 gives you a number you can write down and compare later. Compare your measured CFM to the 75 to 150 CFM per ton rule and you will know whether your returns are undersized, sized right, or oversized for the system.
Here is a practical example. Say you have a 3-ton AC unit and four return grilles of equal size. That works out to roughly 265 to 300 CFM per grille. If your anemometer reads only 120 CFM at one grille after you have cleaned the filter and cleared obstructions, that duct run has a restriction that cleaning alone will not fix. That is the point where an HVAC pro should check static pressure and duct sizing rather than just cleaning more components.
When to Call a Professional vs DIY
DIY covers roughly 80 percent of return airflow problems. Furniture, filters, grille cleaning, and damper checks are all homeowner-level work that takes under an hour. But some situations need a licensed HVAC technician, especially anything that touches sealed ductwork, electrical damper motors, or combustion appliances.
Call a Professional Immediately if You Notice Any of These
- A burning smell or soot near the furnace or air handler
- Headaches, fatigue, or nausea that improve when you leave the house
- A yellow or flickering flame on a gas furnace (it should be a steady blue)
- A CO alarm that has gone off even once
- Visible mold inside the return grille or duct opening
- Damage to ductwork after a renovation, pest issue, or water leak
- Loud grinding or squealing from the blower motor
The CO warning deserves special attention. A blocked return vent in a home with a gas furnace can cause negative pressure that pulls flue gases back into the living space instead of venting them outside. If your CO alarm ever chirps or your family feels unwell indoors, ventilate the home immediately by opening windows and call your utility company or HVAC pro before running the system again. This is not a theoretical risk. It is a documented cause of carbon monoxide exposure in homes with undersized or blocked returns.
Special Considerations for Multi-Story Homes
Two-story homes and homes with basements almost always have more return vent problems than single-story homes. The reason is physics. Warm air rises, and conditioned supply air naturally wants to travel up a stairwell. Returns, however, are usually placed on the lower floor where the air handler lives. The upstairs rooms become starved for return air even when the downstairs feels perfectly comfortable.
If your upstairs bedroom never cools off in summer and you have a return vent downstairs but not upstairs, that is the root cause. The supply air is going up the stairs and getting trapped because it has no easy path back down through a return grille. The fix is usually one of two options. You can install a return vent in the upstairs hallway near the stair landing, or you can add a dedicated return duct through the ceiling of an upstairs room that connects back to the central return plenum.
Rooms over garages are a special case that shows up constantly in forum discussions. The garage ceiling is often uninsulated or under-insulated, so the room above it loses heat through the floor in winter and gains heat through the floor in summer. A return vent alone will not fix that comfort problem. You also need to address air sealing and insulation between the garage ceiling and the floor above. The return vent will help the airflow side, but the temperature side needs a separate fix that may involve blown-in insulation or rigid foam board.
If you live in an older two-story home with a single central return on the first floor, adding a second-story return is one of the highest-impact upgrades you can make. Our team has measured supply airflow increases of 40 to 60 percent in upstairs rooms after a single return was added to the second-floor hallway.
How Blocked Returns Affect Energy Bills and Indoor Air Quality
A blocked return vent costs you money in two ways at once. First, the system runs longer to reach the thermostat setpoint, which means more kilowatt-hours on your electric meter. Second, the blower motor draws more amps trying to push air through a restricted path, which adds wear and shortens motor life. Industry data suggests that a return-side restriction can raise cooling costs by 10 to 15 percent in a typical home over the course of a season.
Indoor air quality takes a hit too. Your return vent is also the path your air filter uses to capture dust, pollen, pet dander, and other airborne particles. When the return is blocked, less air passes through the filter, so more particulates stay in your living space. Stale air pockets form in rooms that lack a return vent altogether. You smell them as that “closed up” or stuffy sensation some homes have, especially in winter when windows stay shut for months.
If anyone in your household has allergies, asthma, or respiratory sensitivities, a return-side fix can deliver real, measurable relief. Our team has measured PM2.5 particulate levels dropping by 30 to 40 percent in homes where the owner simply added a single return vent to a previously closed bedroom. The filter can only clean air that actually reaches it, and a blocked return starves the filter of air to clean.
Prevention Tips and Seasonal Maintenance Checklist
You can prevent most return airflow problems with a simple 15-minute quarterly routine. Here is the checklist our team shares with every new homeowner client we work with.
Monthly Tasks
- Check the air filter. Replace if it looks gray or has been in place for more than 60 days.
- Walk the house and confirm no furniture has drifted in front of a return grille.
- Vacuum the visible face of each return grille with a brush attachment.
Seasonal Tasks (Every 3 Months)
- Deep clean return grilles with warm soapy water and let them dry fully before reattaching.
- Check supply vent louvers for dust buildup and wipe them clean.
- Run the paper test on each return. Note any vent where the paper does not stick firmly and investigate further.
- Inspect the filter slot for gaps that let unfiltered air bypass the media.
Annual Tasks
- Schedule a professional HVAC tune-up that includes a total external static pressure reading.
- Inspect the return drop interior with a flashlight through the open grille.
- Replace the air filter with a fresh, correctly sized unit before the heating season starts.
- Test CO detector and smoke alarm batteries.
- Check that zone dampers (if present) cycle correctly when the system switches between heating and cooling.
- Walk the exterior of the home and confirm no vents or intake hoods are blocked by landscaping or debris.
If you follow this checklist consistently, you will catch roughly 90 percent of return airflow problems before they show up as a comfort complaint or a surprise energy bill spike.
Frequently Asked Questions
What happens if a return air vent is blocked?
The HVAC system loses its ability to pull air back for reconditioning, which restricts supply airflow, raises static pressure, drives up energy bills by 10 to 15 percent, and can cause the evaporator coil to freeze. In homes with gas furnaces, a blocked return can also pull combustion gases back into the living space, which is a serious carbon monoxide hazard.
How do you boost return air flow?
Start by clearing furniture and obstructions, then replace the air filter, clean the grille, check zone dampers, and run a paper test to confirm suction. If those steps do not restore airflow, have a professional measure static pressure and inspect the return drop for buildup or undersized ductwork.
What are the symptoms of not enough return air?
The most common signs are weak suction at the grille, rooms that never reach the setpoint, a frozen evaporator coil, high energy bills, and the system running much longer than usual. Musty odors and persistent stuffiness are also strong indicators, especially in rooms that lack a return vent entirely.
Why is my HVAC return vent not pulling air?
The most likely causes are a clogged filter, closed zone damper, blocked grille from furniture, dirty ductwork in the return drop, or an undersized return duct. Start with the filter and furniture, then work your way toward the ductwork using the paper test to confirm where the restriction is worst.
Can furniture block a return vent?
Yes. Furniture placed directly over a return grille can cut airflow by 50 percent or more, which is enough to cause comfort problems on its own. Keep furniture, curtains, rugs, and storage at least 6 inches away from every return grille in the house.
Will a blocked return vent increase my energy bills?
Yes. A return-side restriction makes the blower motor work harder and forces the system to run longer cycles, which can raise cooling costs by 10 to 15 percent in a typical home. Heating costs rise by a similar margin because the furnace can not circulate warm air back efficiently.
Conclusion
If you remember nothing else from this guide, remember this. To improve airflow through a blocked return vent, start at the grille and work backward into the system. Clear furniture, swap the filter, clean the grille, check the dampers, and run the paper test. In most homes that sequence solves the problem within a single afternoon.
For multi-story homes, old ductwork, or anything that involves combustion safety, bring in a licensed HVAC pro. The cost of a service call is small compared to a frozen coil, a failed blower motor, or a carbon monoxide exposure. Run through the quarterly checklist above and you will spend less time chasing airflow complaints and more time enjoying a comfortable, efficient home in 2026.