
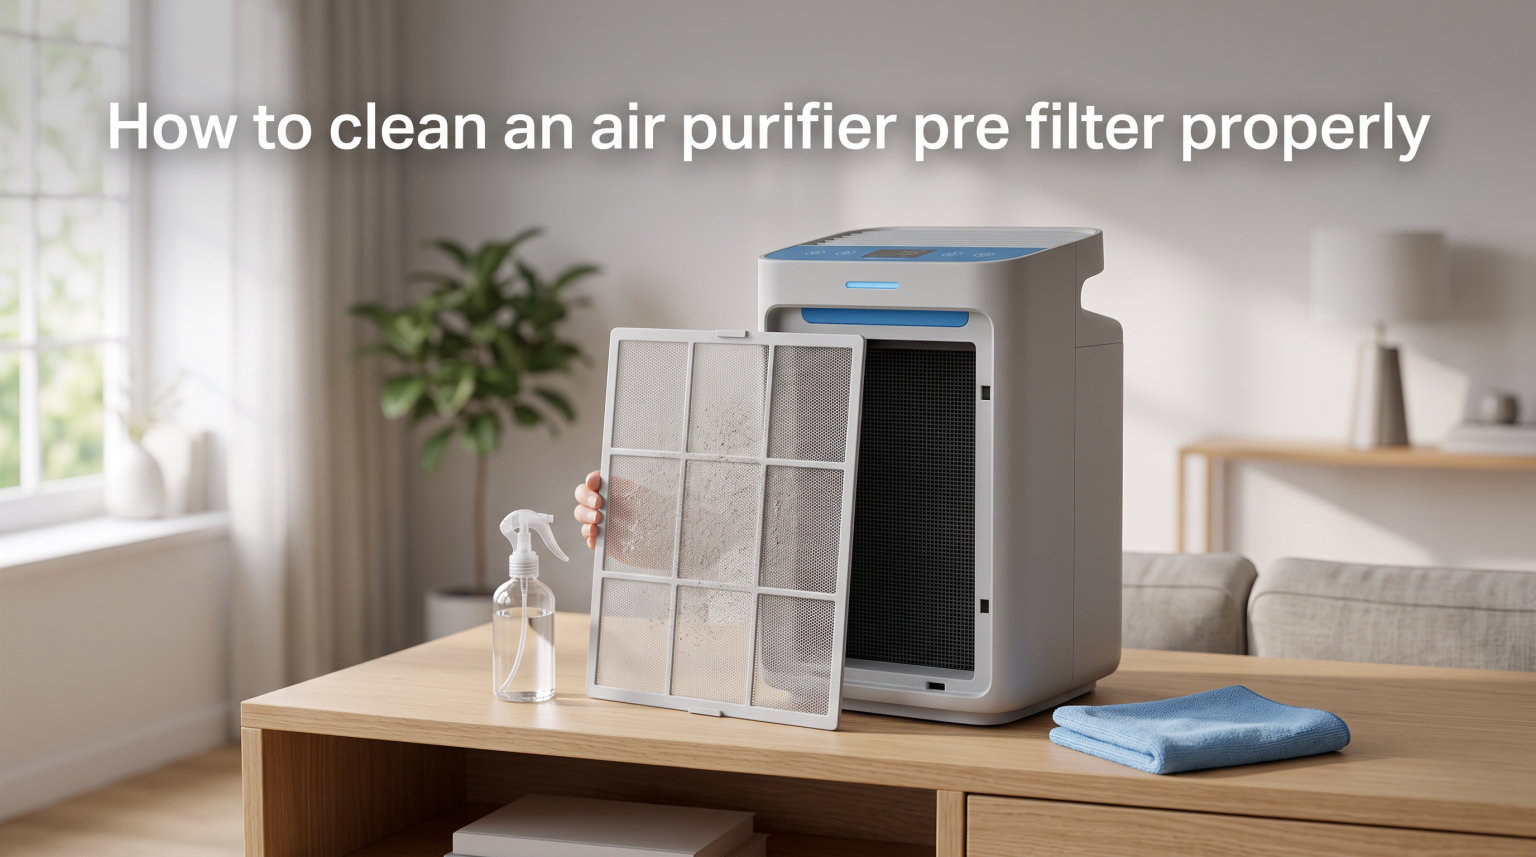
Cleaning your air purifier’s pre-filter properly is one of the simplest things you can do to keep your home’s air clean and extend the life of your machine. The pre-filter is the first barrier that catches dust, pet hair, and lint before those particles ever reach the more expensive HEPA and carbon filters inside. When that pre-filter gets clogged, your purifier works harder, the airflow drops, and the air in your room stops getting cleaned effectively.
I’ve been maintaining air purifiers for years across a few different brands, and the pre-filter is the one part most people skip. In this guide, I’ll walk you through exactly how to clean an air purifier pre filter properly, step by step. We’ll cover the tools you need, the right technique for washable and non-washable filters, how often to do it, and what to do when things go wrong.
By the end, you’ll have a simple routine that keeps your purifier running at full strength without replacing filters more often than necessary. Let’s get into it.
Table of Contents
What Is an Air Purifier Pre-Filter?
A pre-filter is the first layer of filtration in your air purifier, designed to capture large particles like dust, pet hair, lint, and debris before they reach the main filter. Think of it as the gatekeeper that stops big stuff from clogging the delicate HEPA or activated carbon filter sitting behind it.
Most pre-filters are made of a coarse mesh, a thin foam pad, or a carbon-impregnated sheet. They sit at the front or outer edge of the filter stack, right where air enters the unit. Because they catch the largest particles, they also get dirty the fastest.
Here’s why that matters. When you keep the pre-filter clean, the main HEPA filter lasts longer and works more efficiently. A dirty pre-filter restricts airflow, forces the motor to strain, and reduces how much air the purifier can clean in an hour. Regular cleaning of this single component protects your investment in the whole machine.
Washable vs. Non-Washable Pre-Filters: Know the Difference
Before you start cleaning, you need to know which type of pre-filter you have. This is the most common point of confusion I see, and getting it wrong can ruin a filter.
Washable pre-filters are usually made of foam or a sturdy mesh material. You can rinse these under running water, use a mild detergent, and let them air dry completely. Brands like Levoit, Coway, and Blueair often include washable pre-filters in their units.
Non-washable pre-filters include carbon sheets and thin fiber meshes. These should never be soaked or submerged in water. Water breaks down the carbon coating and damages the fibers. Instead, you clean these with a vacuum cleaner using a soft brush attachment.
Check your owner’s manual if you’re not sure. As a general rule, if the pre-filter feels like a dense sponge or thick mesh, it’s probably washable. If it’s a thin, papery sheet with a black carbon coating, keep it dry and vacuum it only.
Tools and Materials You’ll Need
You don’t need much to clean an air purifier pre filter properly. Here’s what I keep on hand:
Vacuum cleaner with a soft brush attachment
Microfiber cloth (one or two)
Small bowl of lukewarm water
Mild dish detergent (a few drops)
Clean, dry towel
Soft-bristled brush (an old toothbrush works well)
Optional: white vinegar for deep cleaning washable filters
That’s it. No special equipment and no expensive cleaners. The whole job takes about 15 to 20 minutes once you’ve done it a few times.
How to Clean an Air Purifier Pre Filter Properly: Step by Step
This is the core of the process. Follow these steps in order, and don’t skip the safety step at the beginning. Here’s the quick overview before we break each step down:
Turn off and unplug the air purifier from the wall.
Remove the front panel or back cover to access the filter compartment.
Pull out the pre-filter gently, noting how it sits for reassembly.
Use a vacuum with a soft brush attachment to remove loose dust and debris.
For washable filters, rinse under lukewarm water with mild detergent.
For non-washable filters, vacuum thoroughly and wipe with a dry cloth.
Let a washed pre-filter air dry completely for 24 hours before reinstalling.
Reinsert the pre-filter in its original position and replace the cover.
Plug the unit back in and run it to confirm proper airflow.
Now let’s walk through each step in detail.
Step 1 — Turn Off and Unplug the Unit
Always start by turning the air purifier off and unplugging it from the electrical outlet. This isn’t just a safety formality.
Working on a plugged-in unit risks an electrical shock and can damage the motor if the machine tries to run without the filter in place. I unplug mine every single time, even for a quick vacuum.
Step 2 — Remove the Front Panel or Cover
Most air purifiers have a removable front or back panel held in place by clips, tabs, or a latch. Gently pull or press the release to open the compartment.
On Levoit models, the back panel pulls off after you press tabs on both sides. Coway units have a front door that swings open. Blueair models often use a simple pull-off side panel. Check your manual if the panel resists, because forcing it can break the plastic clips.
Step 3 — Remove the Pre-Filter
Once the panel is off, you’ll see the filter stack. The pre-filter is the outermost layer and the first one you touch. Slide it out carefully.
Take a mental note or a quick photo of how it’s oriented. This saves you time during reassembly. The pre-filter usually sits in front of the HEPA filter and the carbon layer, so it comes out first.
Step 4 — Vacuum the Pre-Filter
This is the step that does most of the work. Attach a soft brush head to your vacuum cleaner and run it over both sides of the pre-filter using gentle, even strokes.
Don’t press hard. Let the suction do the work. Vacuuming removes the loose dust, pet hair, and lint that have built up. For a foam or mesh pre-filter, this alone may be enough if you clean it regularly.
Step 5 — Wash the Pre-Filter (If Washable)
If your pre-filter is the washable type, take it to a sink and rinse it under lukewarm running water. Add a few drops of mild dish detergent and gently work it through the material with your fingers.
Avoid hot water, since it can warp foam and degrade adhesives. Rinse until the water runs clear and no soap remains. I wash mine this way about every two to three months for a deeper clean beyond routine vacuuming.
Step 6 — Deep Clean with Vinegar (Optional)
For a washable pre-filter that has absorbed odors, a vinegar soak works well. Mix equal parts white vinegar and lukewarm water in a bowl, and soak the pre-filter for 15 to 20 minutes.
The mild acidity breaks down trapped oils and neutralizes smells without harsh chemicals. Rinse thoroughly afterward. I use this method a couple of times a year, especially during pollen season or after cooking heavy meals.
This is a content gap most competitors miss. Almost no top-ranking guide covers vinegar as an alternative cleaning method, yet real users on Reddit swear by it for stubborn odors.
Step 7 — Dry the Pre-Filter Completely
This step is critical and the one most people rush. A damp pre-filter reinstalled in a dark, enclosed space is a recipe for mold and mildew.
Shake off excess water, then lay the pre-filter flat on a clean towel in a well-ventilated area. Let it air dry for a full 24 hours. Don’t use a hair dryer or radiator, because heat can warp the material. The filter must be completely dry to the touch before it goes back in.
Step 8 — Reinstall the Pre-Filter
Once the pre-filter is bone dry, place it back in the filter compartment in the same orientation you noted earlier. It should sit flush against the HEPA filter with no gaps around the edges.
Secure the front or back panel until the clips snap into place. A loose panel lets unfiltered air bypass the filters entirely, which defeats the purpose of running the purifier.
Step 9 — Test the Unit
Plug the air purifier back in and turn it on. Listen for smooth, steady airflow and watch the air quality indicator if your model has one.
If everything sounds normal and the fan runs freely, you’re done. If the unit rattles or the airflow feels weak, double-check that the filter is seated correctly and the panel is fully closed.
Cleaning the Main HEPA and Carbon Filters
The pre-filter isn’t the only filter in your unit. Knowing what to do with the others keeps the whole system healthy and prevents costly mistakes.
HEPA Filters — Don’t Wash Them
Here’s the rule I can’t stress enough: do not wash a HEPA filter. HEPA filters are made of tightly packed fibers that trap microscopic particles. Water destroys the fiber structure and ruins the filter’s ability to capture fine particulate matter.
The only cleaning a HEPA filter gets is a light vacuuming on the outside surface with a soft brush attachment. Even that should be gentle and infrequent. Plan to replace HEPA filters every 12 to 18 months depending on use and air quality in your home.
This confusion comes up constantly in air purifier communities. Many owners assume that because the pre-filter is washable, the HEPA must be too. It’s not, and soaking it will permanently reduce its filtration efficiency.
Activated Carbon Filters — Light Care Only
Carbon filters absorb odors and gases rather than physically trapping particles. You can’t really clean them in the traditional sense, but there’s a useful trick some manufacturers recommend.
Place a carbon filter in direct sunlight for an hour or two. The UV light and warmth can help release some trapped odors and refresh the carbon somewhat. Replace carbon filters every 3 to 6 months for the best odor control.
How Often Should You Clean Your Pre-Filter?
The short answer is every 2 to 4 weeks for vacuuming, and a deeper wash every 2 to 3 months if the filter is washable. But your actual schedule depends on your environment.
If you have pets, live in a dusty area, or run the purifier during wildfire or pollen season, vacuum the pre-filter every 1 to 2 weeks. Pet hair and dander clog pre-filters faster than anything else. In a clean, low-traffic room, you can stretch vacuuming to once a month.
I keep a simple habit. I vacuum the pre-filter the same day I change my HVAC air filter each month. Tying it to an existing routine means I never forget.
Reddit users in r/AirPurifiers report a similar approach, with many vacuuming twice a month during peak allergy season and backing off to monthly the rest of the year. People in dusty or high-pollen regions go even more often.
What Is the 2-3 Rule for Air Purifiers?
The 2-3 rule for air purifiers is a general guideline that you should maintain your purifier so it can cycle and clean all the air in a room about 2 to 3 times per hour. A clogged pre-filter makes that rate impossible to reach.
That’s why consistent cleaning matters more than any single deep clean. When the pre-filter stays clear, the purifier moves air freely and hits that turnover rate without straining the motor.
Common Mistakes to Avoid
I’ve made most of these mistakes myself, so you don’t have to. Here are the ones that cause the most damage:
Washing a non-washable filter. If your pre-filter has a carbon coating or feels papery, water will destroy it. Check the type before you soak anything.
Putting a damp filter back in. Even slightly moist filters grow mold inside the dark filter compartment. Always wait the full 24 hours for a washed filter to dry.
Skipping the pre-filter and only cleaning the HEPA. The pre-filter exists to protect the HEPA. Ignore it and the HEPA clogs faster, which costs real money in replacements.
Using harsh chemicals. Bleach, ammonia, and strong solvents break down filter materials and leave harmful residues that get blown back into your air. Stick to mild dish soap and the occasional vinegar soak.
Forgetting to unplug. It takes two seconds and prevents electrical hazards and motor damage.
Troubleshooting Common Issues
Even when you follow all the steps, things can go sideways. Here are the problems I hear about most often and how to fix them.
Weak Airflow After Cleaning
If your purifier still feels weak after you’ve cleaned the pre-filter, the HEPA filter may be clogged and due for replacement. Check the filter indicator light if your model has one.
You can also do a simple test. Hold a tissue near the output vent. If it barely moves, airflow is restricted and the main filter likely needs replacing, not just cleaning.
Musty Smell Coming from the Unit
A moldy or mildew smell almost always means moisture got trapped inside. Remove all filters and inspect for dampness or visible mold.
Wash washable components with a vinegar solution, dry everything fully, and wipe the interior of the unit with a dry microfiber cloth. Run the purifier on high for an hour in an empty room to confirm the smell is gone.
Filter Indicator Won’t Reset
After cleaning or replacing filters, most modern purifiers need a manual reset of the filter indicator. Press and hold the filter button for 3 to 5 seconds until the light turns off.
Check your manual for the exact button combination for your model, since Levoit, Coway, and Blueair all handle this slightly differently.
Pre-Filter Falls Apart During Cleaning
If the pre-filter crumbles or tears when you handle it, it has reached the end of its life. Foam and mesh pre-filters degrade over time, especially with frequent washing.
Order a replacement and swap it in. Most pre-filters are inexpensive compared to HEPA filters, so this is a cheap fix that keeps your whole system running well.
FAQs
How to clean an air purifier pre-filter?
To clean an air purifier pre-filter, first unplug the unit and remove the front panel. Take out the pre-filter and vacuum it with a soft brush attachment to remove dust and hair. If the pre-filter is washable, rinse it under lukewarm water with a little mild detergent, then air dry it completely for 24 hours before reinstalling. Non-washable pre-filters should be vacuumed only and never soaked in water.
How often should you clean an air purifier pre-filter?
You should vacuum your air purifier pre-filter every 2 to 4 weeks under normal conditions. If you have pets, live in a dusty area, or run the purifier during allergy or wildfire season, vacuum it every 1 to 2 weeks. For washable pre-filters, do a deeper wash with water and mild detergent every 2 to 3 months.
Can I wash a pre-filter?
Yes, you can wash a pre-filter if it is the washable type, usually made of foam or sturdy mesh. Rinse it under lukewarm water with a few drops of mild dish detergent, then let it air dry for a full 24 hours. Do not wash carbon-coated or thin fiber pre-filters, because water destroys the carbon coating and damages the fibers. Vacuum those instead.
What is the 2 3 rule for air purifiers?
The 2-3 rule for air purifiers is a guideline that your purifier should clean all the air in a room about 2 to 3 times per hour to maintain good indoor air quality. To hit that rate, the pre-filter and other filters must stay clean so airflow stays strong. A clogged pre-filter drops the air turnover rate and forces the motor to work harder.
Conclusion
Learning how to clean an air purifier pre filter properly comes down to a simple routine: vacuum regularly, wash when needed, dry completely, and reinstall carefully. It takes less than half an hour and protects the more expensive filters behind it.
Once you build the habit, your purifier runs quieter, moves more air, and keeps your indoor air noticeably cleaner. The biggest takeaway I can share is consistency. A quick vacuum every few weeks does more for your air quality and your filter lifespan than an occasional deep clean ever will.
Start the routine this week, and you’ll feel the difference in how your purifier performs.