
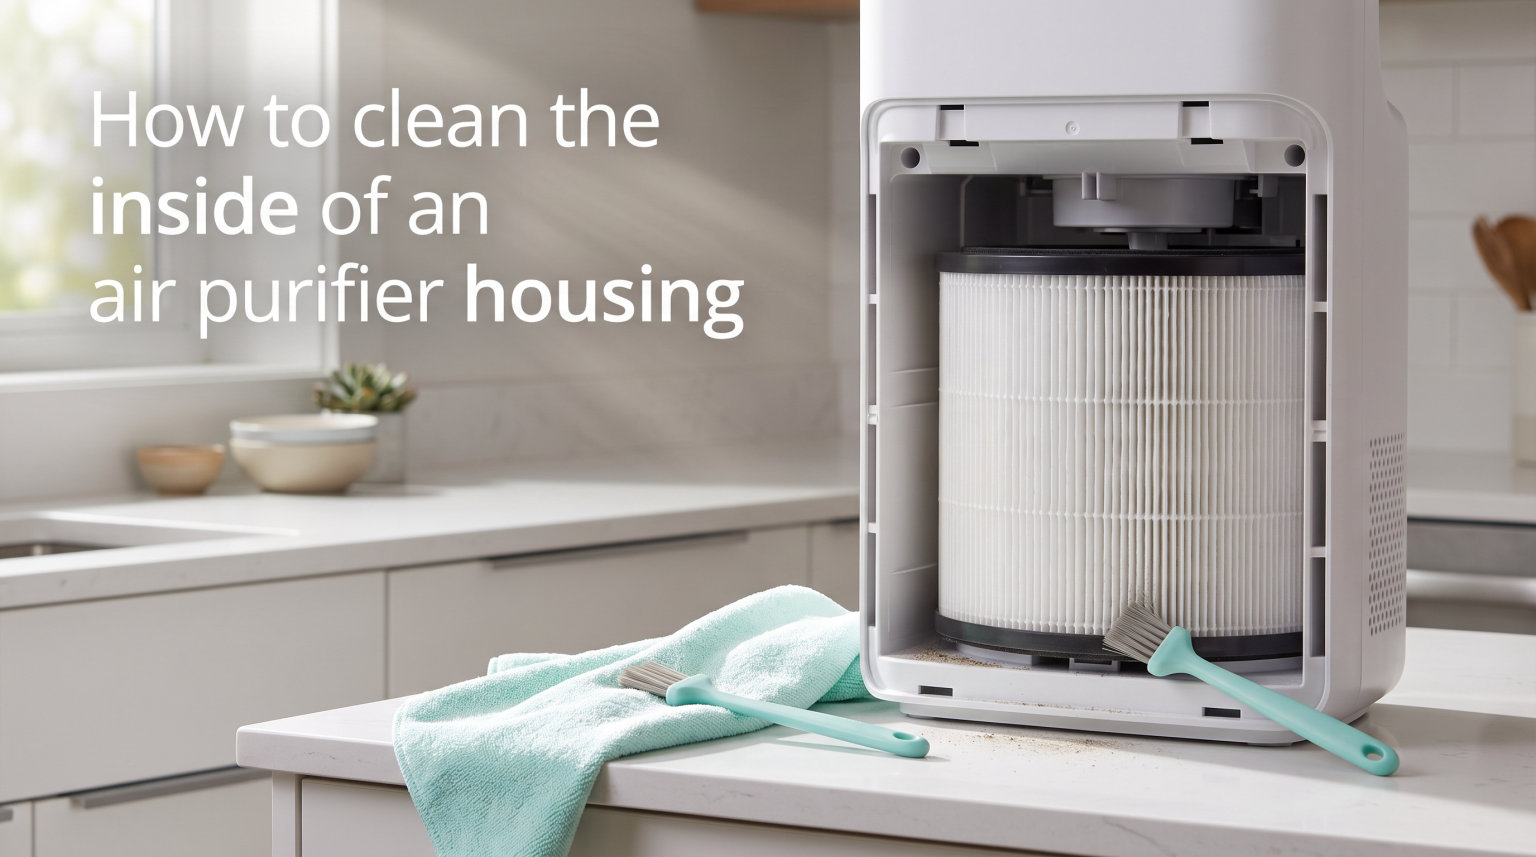
When was the last time you looked inside your air purifier past the filter? If you are like most homeowners I talk to, the answer is probably never. Learning how to clean the inside of an air purifier housing is one of those maintenance tasks that gets skipped until dust starts blowing back into your room or the motor sounds louder than usual.
I have cleaned dozens of air purifier housings over the years, from budget tower units to high-end HEPA systems. The process is simpler than most people expect, but doing it wrong can damage sensitive electrical components or turn a quick cleaning into a costly repair.
This guide walks you through the entire process step by step. I will cover the tools you need, the exact cleaning sequence, safety precautions, and how often this task should land on your maintenance calendar for 2026.
Table of Contents
Why Cleaning the Inside of an Air Purifier Housing Matters
Even the best HEPA filter cannot stop every particle from settling inside the housing. Over time, fine dust bypasses worn pre-filters, sneaks through small gaps, and accumulates on the internal walls, fan blades, and vent openings.
That dust buildup does more than look unpleasant. It restricts airflow, forces the fan motor to work harder, and reduces your unit’s effective CADR rating. I have seen air purifiers lose 20 to 30 percent of their airflow because nobody cleaned the interior for two straight years.
Dust inside the internal housing can also harbor mold spores and bacteria if any moisture is present. If you live with pets, cook frequently, or run your purifier in a dusty environment, the grime accumulates faster than you might think.
Cleaning the housing restores efficiency, extends the lifespan of your device, and keeps the air you breathe genuinely clean. It is one of the highest-payoff maintenance tasks you can do for any air purifier.
Tools and Materials You Will Need
You probably already own most of what this job requires. Here is what I keep in my cleaning kit for routine air purifier maintenance:
Vacuum cleaner with a soft brush attachment: This is your primary tool for removing loose dust from internal surfaces and vent openings.
Compressed air canister: Useful for blasting dust out of tight crevices and around the fan motor where a vacuum nozzle cannot reach.
Soft-bristled brush: A clean paintbrush or dedicated electronics brush works well for gently sweeping dust from delicate components.
Microfiber cloth: Slightly dampened for wiping down smooth interior walls after vacuuming.
Screwdriver set: Some housings require a Phillips or flathead screwdriver to remove access panels.
Mild dish soap: Only needed if you are dealing with greasy residue, which is common when a purifier sits near a kitchen.
Keep all liquids away from the work area until you reach the wiping step. Water and electrical components are a dangerous combination inside any appliance.
How to Clean the Inside of an Air Purifier Housing (Step by Step)
Follow these steps in order. Each one builds on the previous, and skipping ahead can leave dust trapped inside or put you at risk of electrical shock.
Step 1: Unplug the Device Completely
This step is non-negotiable. Pull the plug directly from the wall outlet, not just the back of the unit. I have seen people assume pressing the power button is enough, but internal capacitors can hold a charge even after the device powers down.
Wait at least 30 seconds after unplugging before you proceed. This gives any residual charge time to dissipate and confirms you are working with a completely de-energized machine.
Step 2: Remove External Panels and All Filters
Take off the front grille or back panel according to your manufacturer’s instructions. Most modern units use a snap-fit design, while older or heavier models may have screws holding the panel in place.
Remove the pre-filter, the HEPA filter, and the activated carbon filter if your unit has separate layers. Set them aside on a clean surface and note the order and orientation of each filter so reassembly goes smoothly later.
Step 3: Inspect the Internal Housing
With the filters out, grab a flashlight and look inside the housing. You are checking for three things: loose dust, sticky residue, and any signs of mold or moisture damage.
If you spot mold growth, stop and consult your manufacturer. Mold inside the housing usually means water entered the system, which is a different problem than routine dust. Most internal housings only need dry cleaning methods.
Step 4: Vacuum Dust and Debris
Attach the soft brush tool to your vacuum and run it along every accessible interior surface. Work from top to bottom so dislodged dust falls into areas you have not yet cleaned.
Pay special attention to the vent openings and the area around the fan housing. These zones collect dust most heavily. Use gentle pressure on the brush attachment so you do not push debris deeper into the mechanism.
Step 5: Use Compressed Air for Tight Spaces
After vacuuming, pick up your compressed air canister. Short, controlled bursts work far better than long sustained sprays. Hold the can upright to prevent propellant from leaking onto internal parts.
Target the fan blades, motor housing gaps, and any corners the vacuum brush could not reach. Keep the vacuum running nearby or position its nozzle to catch the dust as the compressed air dislodges it. This two-tool approach captures most debris before it resettles.
Step 6: Wipe Down Interior Surfaces
Lightly dampen a microfiber cloth with water or a very mild soap solution. Wring it out until it is barely wet, then wipe the smooth interior walls of the housing.
Never spray liquid directly inside the unit. Never let moisture drip onto the fan motor, wiring, or any electrical contacts. A damp cloth is all you need for most interior surfaces.
Step 7: Let Everything Dry, Then Reassemble
Wait 15 to 20 minutes for any residual moisture to evaporate before putting anything back together. If you used no liquids at all, a few minutes is sufficient.
Reinstall the filters in the correct order, snap or screw the panels back into place, and plug the unit in. Run it on the highest setting for five minutes to confirm everything sounds normal and the airflow feels strong.
Safety Precautions
Safety comes first when you clean the inside of an air purifier housing. These are electrical appliances with motors, wiring, and sensitive sensors packed into a compact shell.
Always unplug before opening any panel. Never disassemble beyond what your user manual describes as user-accessible. If your unit is sealed with no removable panels, the interior is not designed for consumer cleaning, and forcing it open will void your warranty.
Keep water far from the motor and wiring. I cannot stress this enough based on what I have seen in repair forums. Even a small amount of moisture on electrical components can cause shorts, corrosion, or permanent failure.
Wear a dust mask if you have allergies or asthma. The dust trapped inside an older housing can contain concentrated allergens, and disturbing it sends those particles airborne before the vacuum catches them.
Avoid harsh chemical cleaners inside the housing entirely. Bleach, ammonia, and abrasive sprays damage plastic components and leave residues that get blown back into the air you breathe.
How Often Should You Clean Inside Your Air Purifier?
Most air purifiers need an internal housing cleaning once or twice a year under normal conditions. If you have pets, smoke indoors, or live in a particularly dusty climate, plan for every three to four months instead.
The key variable is your filter maintenance schedule. A well-maintained pre-filter captures most particles before they ever reach the housing interior. If you clean or replace your pre-filter monthly, the inside stays cleaner for much longer.
You may have heard of the “2/3 rule” for air purifiers. This guideline suggests checking your filters every 2 months and replacing them when they look about two-thirds discolored or clogged. Following this rule dramatically reduces how often the internal housing needs deep cleaning.
Watch for warning signs between scheduled cleanings. A drop in airflow, unusual motor noise, or a musty smell coming from the unit all signal that it is time to open things up and inspect the interior.
Common Mistakes to Avoid
I have seen the same errors repeated across forums and in person. Here are the ones that cause the most damage:
Washing a HEPA filter with water is the number one mistake. True HEPA filters are not washable. Water destroys the fine fiber matrix that captures microscopic particles. If your filter is labeled washable, it is a permanent pre-filter, not a true HEPA.
Using too much liquid during the housing wipe-down is another frequent problem. People soak their cloth, and water runs down into the motor area. Always stick with a barely damp microfiber cloth.
Skipping the unplug step happens more often than you would think. People clean with the unit in standby mode, assuming the power button keeps them safe. It does not.
Reassembling filters in the wrong order reduces effectiveness. Each layer catches progressively smaller particles. The pre-filter always goes first, then the activated carbon filter, then the HEPA filter.
Troubleshooting After Cleaning
Finished cleaning but something seems off? Here is what I check when readers reach out with post-cleaning problems.
Rattling or grinding noise: A filter may be seated incorrectly or a panel is slightly loose. Power down, remove the panels, and reinstall everything making sure each component clicks firmly into its designated slot.
Unusual smell after cleaning: This usually means a small amount of moisture is still inside. Run the unit on high for 30 minutes in a well-ventilated room. If the smell persists after drying, check for mold or a filter that needs replacement rather than cleaning.
Weaker airflow than before: Double-check that you removed any protective shipping material or plastic wrap from replacement filters. A surprisingly common issue is installing a brand-new filter without peeling off the packaging film.
Sealed vs. Accessible Air Purifier Designs
Not every air purifier can be opened for internal cleaning. Understanding your design type matters before you start disassembling anything.
Accessible units have removable front or back panels held by clips or screws. Brands like Honeywell, Levoit, and Coway typically fall into this category. You can safely vacuum and wipe inside these housings following the steps above.
Sealed units are engineered so that air only passes through the filter path with no user-accessible interior. Many Dyson and Blueair models use this design philosophy. The interior should stay clean as long as you maintain the filters properly. Do not attempt to force open a sealed housing.
Check your user manual if you are unsure which type you own. When in doubt, contact the manufacturer directly. They can tell you exactly which panels are designed to be removed and which should stay closed.
FAQs
Should you clean the inside of an air filter housing?
Yes. Dust that bypasses filters settles inside the housing and reduces airflow efficiency. Clean the interior once or twice a year under normal conditions, or every three to four months if you have pets or live in a dusty environment.
How do I clean the inside of my air purifier?
Unplug the unit, remove all filters and panels, vacuum interior surfaces with a soft brush attachment, use compressed air for tight spaces, wipe smooth surfaces with a barely damp microfiber cloth, then let it dry and reassemble.
How to clean out air filter housing?
Use a vacuum with a brush nozzle to remove loose dust, follow with short bursts of compressed air in crevices, and wipe smooth surfaces with a lightly dampened microfiber cloth. Keep all water away from electrical components.
What is the 2 3 rule for air purifiers?
The 2/3 rule means checking your filters every 2 months and replacing them when they are about two-thirds clogged or discolored. Following this guideline keeps the internal housing cleaner for longer between deep cleanings.
Can you clean an air purifier filter with water?
Only washable pre-filters can be rinsed with water. True HEPA filters and activated carbon filters should never be washed, as water destroys their filtering capacity and they must be replaced instead.
Conclusion
Learning how to clean the inside of an air purifier housing is a straightforward task that pays off in better performance and a longer device lifespan. The process comes down to seven clear steps: unplug, disassemble, inspect, vacuum, use compressed air, wipe, and reassemble.
Set a recurring reminder for every six months, keep up with your pre-filter changes, and your air purifier will run efficiently for years to come. The small effort you invest in interior maintenance protects the investment you already made in cleaner indoor air.