
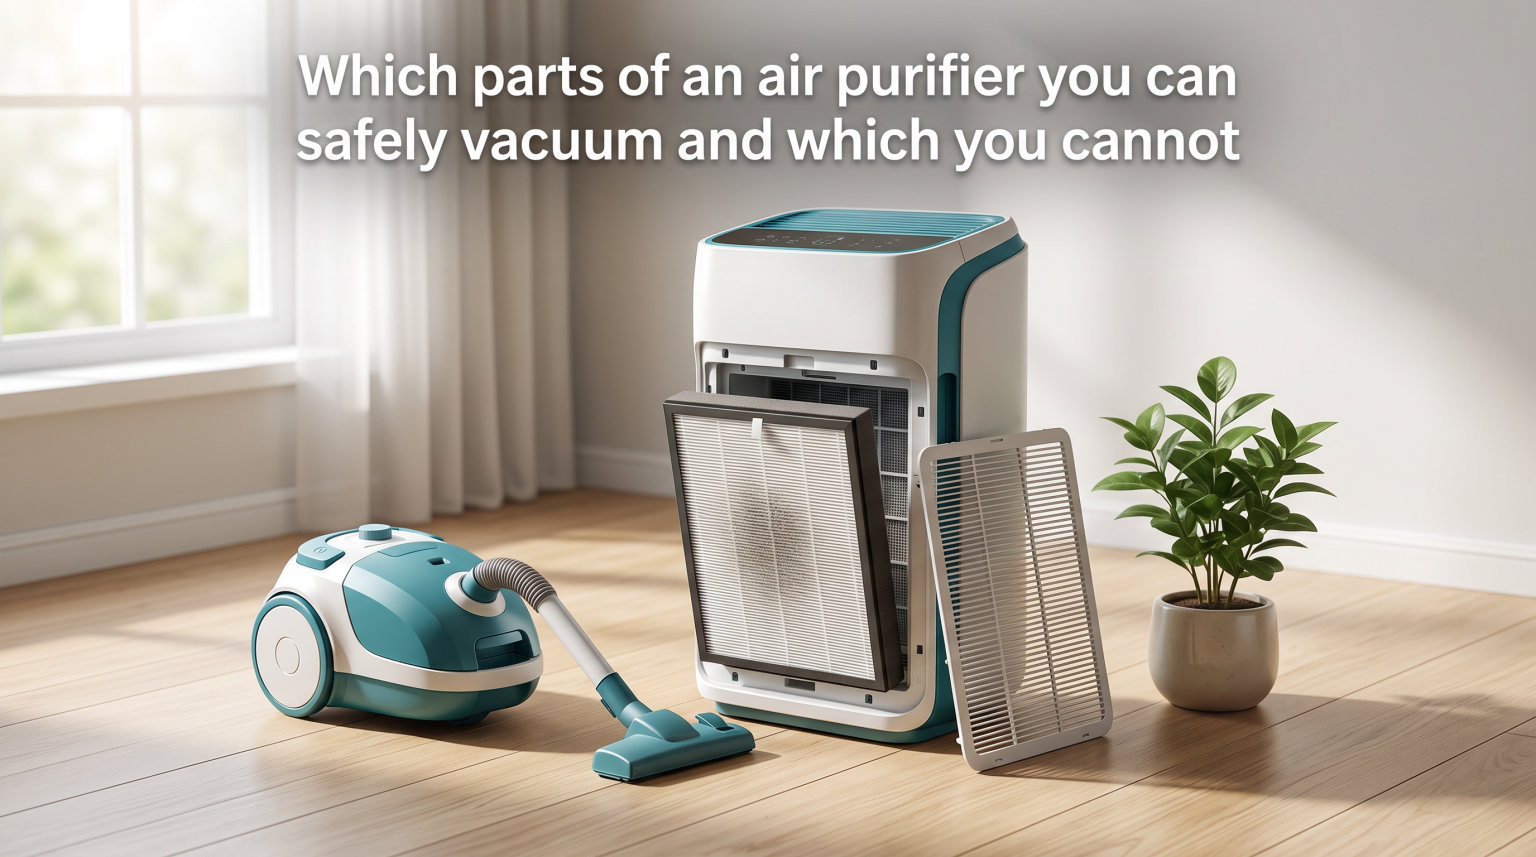
I have spent the better part of three years testing, cleaning, and (occasionally) ruining air purifier filters in my own home. The single question I get most often is whether you can extend filter life with a vacuum cleaner. The short answer is that some air purifier parts vacuum cleaning is perfectly safe, while other parts will be permanently damaged the moment a vacuum nozzle touches them.
This guide covers exactly which parts of an air purifier you can safely vacuum and which you cannot. I break down each filter type, explain why certain materials fail under suction, and give you a step-by-step method I use on my own units to keep airflow strong without replacing filters more often than necessary.
Getting this right matters more than most people realize. Vacuuming the wrong component can tear delicate fiberglass fibers, release trapped particles back into your room, and quietly cut your purifier’s filtration efficiency. Done correctly on the right parts, routine vacuuming keeps pre-filters working longer and protects the more expensive HEPA and carbon layers downstream.
Table of Contents
Quick Answer: Air Purifier Parts Vacuum Safety at a Glance
You can safely vacuum the pre-filter, the external grill, the exterior vents, and the outer housing of your air purifier. You should never vacuum a true HEPA filter, an activated carbon filter, internal sensors, or any electrical component. Washable pre-filters and permanent plastic or foam components are designed to handle gentle suction, while fine-fiber media filters are not.
Here is the breakdown I rely on, organized by what you can and cannot bring a vacuum near:
Parts You CAN Safely Vacuum
These components are built from durable materials like dense foam, plastic mesh, or metal mesh that tolerate light suction from a soft brush attachment.
Pre-filter (mesh or foam layer that sits in front of the main filter)
External grill and front cover slats
Exterior vents and air intake louvers
Outer housing and plastic casing
Permanent, washable, lifetime filters (manufacturer-labeled only)
Parts You CANNOT Vacuum
These parts use fragile fiber mats, loose carbon granules, or sensitive electronics. Vacuuming them causes fiber tearing, particle release, or permanent damage.
True HEPA filters (fiberglass or polypropylene fiber mats)
Activated carbon filters (loose granule or pellet style)
Thin odor or VOC chemical treatment filters
Internal air quality sensors and laser particle counters
Any electrical component, fan motor, or circuit board
If you remember nothing else, remember this rule: if the filter feels like a dense, papery or cloth mat, do not vacuum it. If it feels like rigid foam, metal mesh, or plastic, you are usually safe.
Understanding Your Air Purifier’s Filter System
Most modern air purifiers use a staged filter system, and understanding each stage tells you immediately whether it is vacuum-safe. Air is pulled through the layers in order, with each one capturing a different class of contaminant.
The pre-filter is the first line of defense and catches large particles like pet hair, lint, and visible dust. Behind it sits the HEPA filter, which traps 99.97 percent of particles down to 0.3 microns using a dense mat of fine fibers. The final layer is usually an activated carbon filter that absorbs odors, smoke, and gases through adsorption rather than physical trapping.
That staged design is the key to the whole vacuum question. The pre-filter exists specifically to take abuse so the HEPA and carbon filters do not have to. That is why pre-filters are washable and vacuum-safe while the layers behind them are not. When you maintain the pre-filter, you protect everything downstream.
Some units also include a permanent or lifetime filter, usually a washable HEPA-style layer or an electrostatic collection plate. These are designed for repeated cleaning, but only using the methods the manufacturer specifies. A disposable HEPA filter and a permanent one look similar, so always check the manual before assuming anything is vacuum-safe.
Parts You CAN Safely Vacuum
These are the components I clean on my own purifiers every two to four weeks. Each one is built from material tough enough to handle a soft brush attachment on low suction.
The Pre-Filter
The pre-filter is the single most important part to vacuum regularly. It is usually a thin mesh, foam, or fabric layer that wraps around or sits in front of the main HEPA filter, and its entire job is to capture large debris before it reaches the expensive media.
I vacuum mine every two to three weeks, and it consistently adds months to the life of the HEPA filter behind it. Use a soft brush attachment, keep suction on a low setting, and run the nozzle across the surface in gentle strokes following the weave of the material. Never press down hard or dig the nozzle into the mesh.
If the pre-filter is labeled washable by the manufacturer, you can also rinse it under lukewarm water, let it dry completely for 24 hours, and reinstall. Vacuuming between washes keeps it from getting saturated with pet hair and lint.
The External Grill and Front Cover
The plastic or metal grill on the front of the purifier collects dust on its slats and in the corners. A soft brush attachment removes this buildup in seconds and helps maintain smooth airflow into the unit.
I run the brush over the grill slats in the direction of the vents, not against them, to avoid bending any plastic louvers. A crevice tool works well for the gaps between slats where dust tends to accumulate.
Exterior Vents and Air Intake Louvers
Vents around the back and sides of the unit pull in room air, and they collect the same dust that settles on your furniture. Vacuum them with a brush attachment every few weeks to prevent dust from blocking intake and forcing the fan to work harder.
This is also where pet hair tends to wrap around the vent edges. A crevice tool pulls it out cleanly without you having to pick at it with your fingers.
The Outer Housing
The exterior plastic casing of the purifier gathers household dust just like any other appliance. Wipe it down with a dry microfiber cloth, then go over it with a brush attachment to clear vents and seams. Keep the vacuum away from any control panel, display screen, or button area.
Permanent and Washable Filters
Some purifiers, especially higher-end models, include a permanent HEPA-style filter that the manufacturer explicitly labels as washable or cleanable. These are designed for repeated vacuuming and rinsing, but only the specific filter labeled permanent. If you are unsure, treat it as disposable and do not vacuum it.
Parts You CANNOT Vacuum
These are the components forum users most often ask about, and unfortunately they are also the ones most easily ruined. Vacuuming any of them reduces filtration performance, releases trapped particles, or destroys the filter outright.
True HEPA Filters
A true HEPA filter is a tightly packed mat of randomly arranged fibers, usually fiberglass or fine polypropylene, that captures particles through interception, impaction, and diffusion. The fibers are extremely thin and delicate, which is exactly what allows them to trap 99.97 percent of particles as small as 0.3 microns.
Vacuuming a HEPA filter tears those fibers and creates microscopic gaps. The filter may look clean afterward, but its filtration efficiency drops because particles can now slip through the torn sections. Worse, the suction can pull trapped particles free from the fibers and release them back into the air you breathe.
Reddit users in r/AirPurifiers consistently warn against this. Several report vacuuming disposable HEPA filters for a quick boost between replacements, only to find their allergy symptoms returning because the damaged filter was no longer capturing fine particles. The general consensus from both users and manufacturers is clear: if it is a disposable HEPA filter, replace it, do not vacuum it.
Activated Carbon Filters
Activated carbon filters work through adsorption, where odor molecules and gases chemically bond to the porous surface of the carbon. These filters contain loose carbon granules or pellets held in a mesh or honeycomb frame.
Vacuuming does nothing useful here because suction cannot remove the gases and odors already bonded to the carbon. Worse, it can pull loose granules out of the frame, reducing the filter’s capacity and leaving gaps where untreated air passes through. Some users place carbon filters in direct sunlight for a few hours to release trapped odors, but this only provides minor relief and does not restore full capacity.
When a carbon filter stops controlling odors, it is spent. Replace it rather than trying to revive it with a vacuum.
Thin Odor and Chemical Treatment Filters
Some purifiers use thin, treated fabric or paper layers infused with compounds to neutralize specific odors or volatile organic compounds. These are even more fragile than HEPA media. Vacuuming tears the material and removes the chemical treatment, leaving you with a useless layer of fabric.
Internal Sensors and Laser Particle Counters
Many modern purifiers include air quality sensors that use lasers or infrared beams to count particles in real time. These sensors are extremely sensitive optical components, and vacuum suction can disturb their calibration or pull dust into the sensor housing where it sticks to the lens.
Never direct a vacuum nozzle at a sensor port. If the sensor window looks dirty, use a soft, dry cotton swab to gently wipe the visible surface only.
Electrical Components and Fan Motors
The fan motor, circuit boards, and wiring inside the unit are off-limits for any vacuum. Static discharge from a plastic vacuum nozzle can damage sensitive electronics, and physical contact can break connectors. If the interior of the unit needs cleaning, use compressed air from a safe distance or contact the manufacturer.
How to Vacuum Air Purifier Parts Safely: Step-by-Step
This is the exact routine I use on my own purifiers. It takes about ten minutes per unit and works for any model with a removable pre-filter and accessible exterior vents.
Step 1: Power off and unplug the unit. Never clean an air purifier while it is running or plugged in. This protects both you and the electronics from moisture or static.
Step 2: Remove the front panel or filter door. Most purifiers have a release latch or simply pull off. Set the cover aside on a clean surface.
Step 3: Take out the pre-filter. The pre-filter is usually the outermost layer, often a mesh or foam sleeve. Slide it off carefully without touching the HEPA filter underneath.
Step 4: Vacuum the pre-filter with a soft brush attachment. Use low suction and run the brush across the surface in gentle, even strokes. Work in the direction of the mesh weave. If the pre-filter is washable, you can also rinse it after vacuuming, but let it dry fully for 24 hours before reinstalling.
Step 5: Vacuum the external grill and vents. With the cover removed or still attached, run a soft brush attachment over all vent slats and louvers. Use a crevice tool for tight corners and gaps between slats.
Step 6: Wipe the outer housing. Use a dry microfiber cloth on the plastic casing. Keep clear of the control panel, display, and buttons.
Step 7: Inspect the HEPA and carbon filters without touching them. Look for discoloration, a strong odor, or visible damage. If the HEPA filter looks gray or the carbon filter smells saturated, it is time for a replacement, not a vacuum.
Step 8: Reinstall everything and plug the unit back in. Make sure the pre-filter is seated correctly and the filter door is fully closed before turning the purifier on.
One important note from the forums: use a vacuum that itself has a HEPA-filtered exhaust. A standard vacuum without HEPA filtration can blow the fine dust it picks up straight back into your room, which defeats the purpose of cleaning the purifier in the first place.
Common Mistakes to Avoid
Forum discussions on Reddit reveal the same handful of mistakes over and over. These are the ones that damage filters, waste money, or quietly reduce your air quality.
Using high suction on delicate parts. Cranking the vacuum to full power and pressing the nozzle into a pre-filter can deform the mesh or pull it apart. Always use the lowest suction setting that still lifts visible dust.
Vacuuming disposable HEPA filters to save money. I understand the temptation, since replacement HEPA filters are not cheap. But a vacuumed HEPA filter is a damaged HEPA filter, and you will likely end up breathing more particles, not fewer.
Using the wrong attachment. A bare wand nozzle without a brush can snag mesh and foam. Stick to a soft brush attachment for flat surfaces and a crevice tool for gaps only.
Vacuuming a wet or damp filter. Moisture spreads trapped particles and can cause mold growth inside the filter media. Always let washable filters dry completely before reinstalling, and never vacuum a filter that has any dampness.
Ignoring the manufacturer’s manual. Reddit users consistently say they trust manufacturer guidelines over general advice, and for good reason. Some models have specific cleaning requirements that override general rules. When in doubt, check the manual first.
When to Clean vs Replace: Maintenance Schedule
Knowing when to vacuum versus when to replace is what separates a well-maintained purifier from one that quietly stops working. Here is the schedule I follow, which aligns with what most manufacturers and experienced users recommend.
Pre-Filter
Vacuum or wash the pre-filter every two to four weeks, depending on how much dust and pet hair your home produces. Homes with shedding pets or open windows may need weekly attention. Replace the pre-filter every three to six months if it becomes permanently discolored or loses its shape.
Carbon Filter
Activated carbon filters cannot be effectively cleaned. Replace them every three to six months, or sooner if you notice odors returning. Heavy smoke, cooking, or pet odors will shorten the lifespan considerably.
HEPA Filter
Replace disposable HEPA filters every six to twelve months under normal use. Homes with pets, allergies, or high dust levels may need replacement every four to six months. Watch for the filter replacement indicator light on your unit, but also trust your own observation, since sensor-based indicators can be inaccurate.
The 2-3 Rule for Air Purifiers
The 2-3 rule is a simple sizing guideline: choose an air purifier with a Clean Air Delivery Rate that lets it cycle your room’s entire air volume two to three times per hour. This does not directly affect cleaning, but a properly sized unit runs its filters through less concentrated air, which extends filter life and reduces how often you need to clean or replace components.
For maintenance specifically, I treat the 2-3 rule as a reminder to clean the pre-filter every two to three weeks. It is an easy cadence to remember and it lines up well with how fast pre-filters load up in a typical home.
Signs a Filter Needs Replacement, Not Cleaning
Replace a filter rather than cleaning it if you notice any of the following: persistent odors returning within days, reduced airflow from the purifier, a visible gray or dark discoloration on HEPA media, the filter replacement indicator light, or an increase in allergy symptoms while the unit is running. None of these improve with vacuuming.
FAQs
Is it okay to vacuum an air purifier filter?
It is okay to vacuum certain air purifier filters, specifically the pre-filter, external grill, vents, and any filter the manufacturer labels as washable or permanent. You should never vacuum a true HEPA filter or an activated carbon filter, because vacuuming tears the fine fibers and reduces filtration efficiency while releasing trapped particles back into the air.
Can we clean an air purifier filter with a vacuum cleaner?
Yes, you can clean a washable pre-filter and the exterior parts of an air purifier with a vacuum cleaner fitted with a soft brush attachment on low suction. Remove the pre-filter, vacuum it in gentle strokes, then vacuum the external grill and vents. Do not vacuum HEPA or carbon filters, as this damages the filter media.
What is the 2 3 rule for air purifiers?
The 2-3 rule for air purifiers means choosing a unit with enough Clean Air Delivery Rate to cycle your room’s entire air volume two to three times per hour. For maintenance, it also works as a reminder to clean the pre-filter every two to three weeks, which keeps airflow strong and extends the life of the more expensive HEPA and carbon filters.
Will vacuuming damage my HEPA filter?
Yes, vacuuming will damage a HEPA filter. True HEPA filters are made from extremely fine fiberglass or polypropylene fibers that tear under vacuum suction, creating gaps that let particles pass through. The suction can also pull trapped particles free and release them back into your room. Replace disposable HEPA filters instead of vacuuming them.
How often should I vacuum my air purifier filter?
Vacuum the pre-filter every two to four weeks in a typical home, or weekly if you have shedding pets or keep windows open. Replace disposable HEPA filters every six to twelve months and activated carbon filters every three to six months, since these cannot be effectively cleaned with a vacuum.
Conclusion
Knowing which air purifier parts vacuum cleaning is safe for, and which it will destroy, comes down to one distinction: vacuum durable pre-filters, grills, and vents, and never vacuum HEPA or carbon filters. Follow the step-by-step routine above every two to four weeks, replace the disposable filters on schedule, and your purifier will keep delivering clean air for years.